How to Draw a Dog with Color Pencils
This step by step art lesson demonstrates the technique used to create a color pencil drawing of a dog.
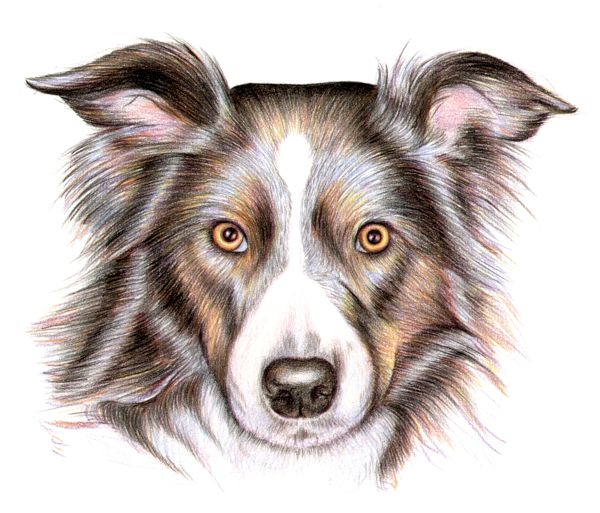
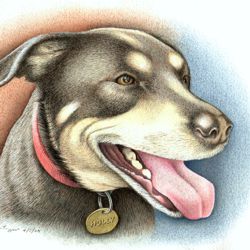
Our art lesson on 'how to draw a dog' is a step by step demonstration of the color pencil techniques used to create our drawing of 'Ben' the Border Collie.
Color pencil is the ideal medium for illustrating this subject as it naturally suited to making the rhythmic lines that convey the colorful sheen of the dog's coat.
Drawing a Dog: Step 1
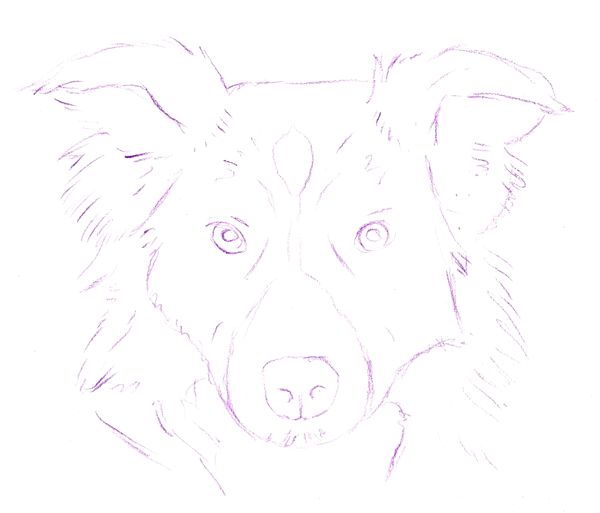
The first step in this drawing lesson is to sketch a basic outline of the head using a purple color pencil.
The color purple was chosen for the outline and for entering the dark tones of the dog's face as other colors will blend comfortably over the top of it.
Note: Many beginners with color pencils want to do their basic sketch using a graphite pencil as it is easier to erase any mistakes. You should never do this as the combination of the two media looks awkward and the graphite tarnishes the purity of your colors.
Drawing a Dog: Step 2
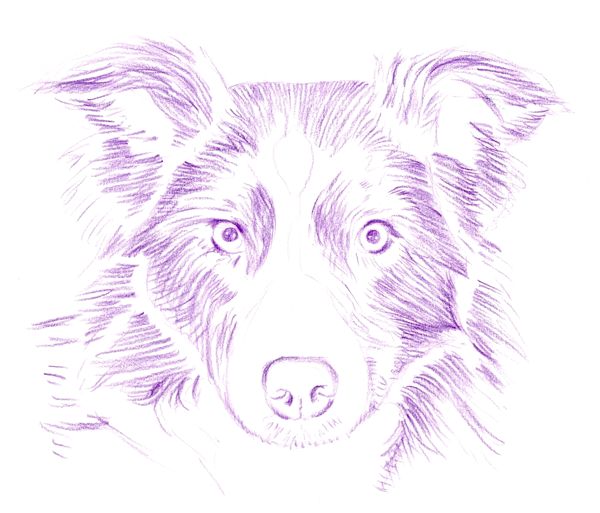
The second stage in our drawing is to establish the tones of the eyes, a key element in any 'portrait', and to block in the darker tones and texture of the dog's hair.
Note: It is important that all the lines you draw in sketching the hair follow the direction of its growth.
Drawing a Dog: Step 3
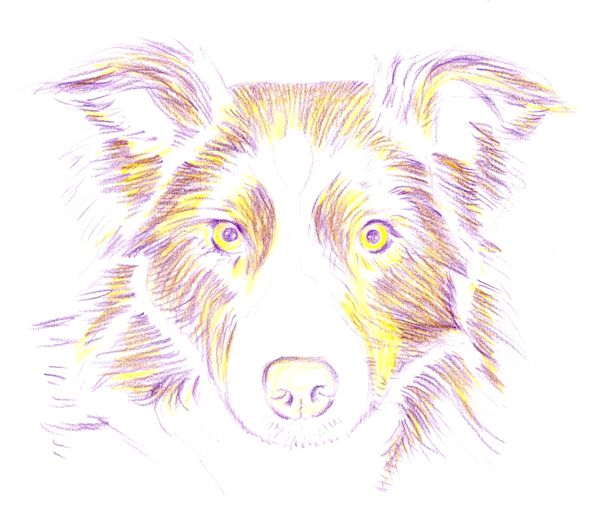
Once the darker tones are firmly established it is time to build up the colors in the dog's hair. This is a tricky effect to capture as its thick glossy coat refracts and scatters the light creating a surface of shimmering color.
Note: On the principle that it is easy to darken a light color but difficult to lighten a dark color, it is best to apply the lightest colors first and gradually work step by step towards the darkest. This approach will help you to retain the freshness of your brighter colors.
At this stage, and still following the direction of the hair, yellow is introduced over the dark purple tones. Brown is formed as the colors blend, but areas of pure yellow and purple continue to add vitality to the mix. Yellow is also used as a foundation color for the eyes.
Drawing a Dog: Step 4
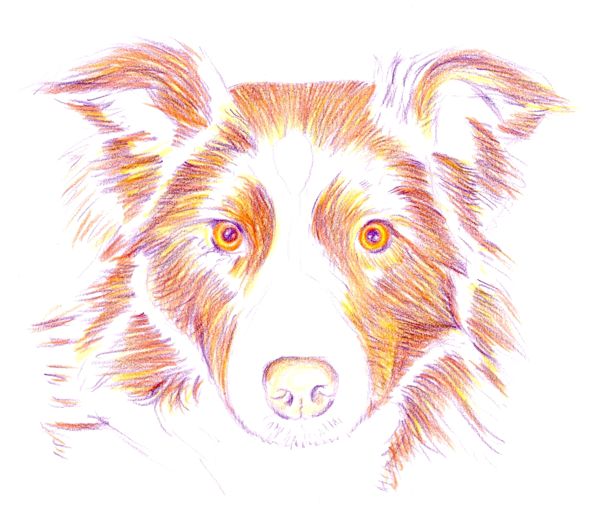
The process of building up the dog's glossy coat continues with the addition of a layer of orange over the darker sections of its face.
Orange is also used to tint and outline the iris in each eye.
Drawing a Dog: Step 5
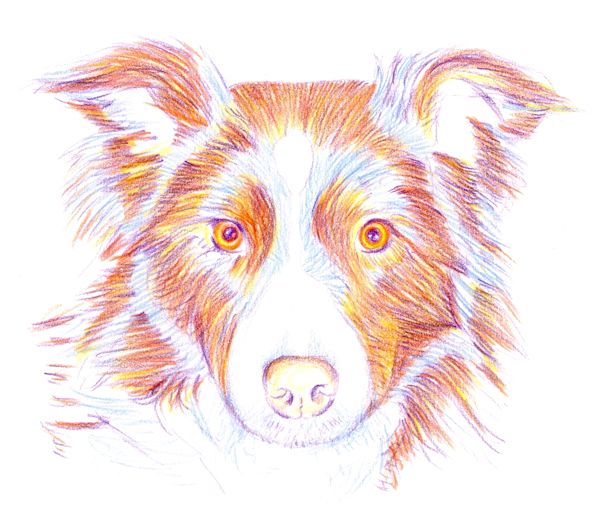
A light blue is now applied to to the brighter areas of its coat. You must continue to draw lines that follow the direction of the hair, thereby unifying its overall texture and pattern.
Drawing a Dog: Step 6
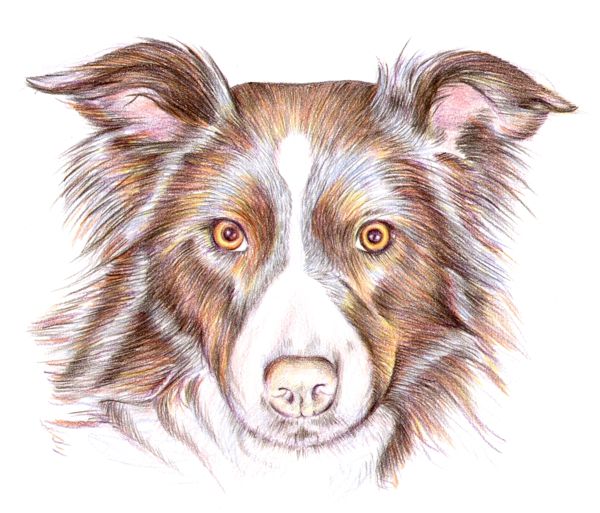
In this penultimate stage, a dark brown pencil is used to unify the tone, color and texture of our dog.
Note: Fine lines, continuing to follow the direction of the hair, are carefully drawn over the colored areas of the face. These lines are shorter and sharper around the eyes and centre of the face, gradually becoming broader and bolder towards the outside of the head. The dark brown pencil lines mask much of the orange, yellow and blue but leave just enough of these colors visible to suggest the healthy sheen of the dog's coat.
The dark brown pencil was also applied in stronger concentrations of lines to deepen shaded areas throughout the drawing and to outline the eyes more forcefully.
To complete this stage, hints of pink were added to color the skin on the inside of the ears and to tint the soft white hair around the nose, mouth and neck.
Drawing a Dog: Step 7
The final step in our drawing of 'Ben', the Border Collie, is to refine the tones and textures using black.
Note: A sharp black color pencil enables us to darken the most deeply shaded areas and enhance the texture of the dog's hair. The effect that this has is to increase the contrast and heighten the dramatic impact of the image.
Black is similarly used to increase the contrast and shiny texture of the eyes and nose.
Black should always be used economically and with care as it can easily pollute the purity of your brighter colors. It is the most dangerous of all the colors as it is the most difficult to fix if you make mistakes. When using media that blend like color pencil, watercolor, chalks and oil crayons, black should be the last color to be applied.