How to Draw a Squirrel with Pen and Ink
This step by step art lesson demonstrates the technique used to create a pen and ink drawing of a squirrel.

Our lesson on 'how to draw a squirrel' is a step by step demonstration of the pen and ink techniques used to create our squirrel drawing. Pen and ink is a very good medium for rendering the bristly texture of fur and ideally suited to this subject.
Drawing a Squirrel: Step 1
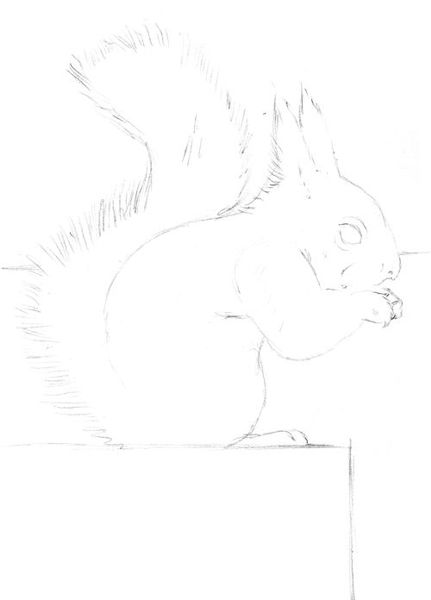
The first step in this drawing lesson is to lightly sketch a basic outline in pencil. This is done to establish the correct proportions and shapes of the image before we start inking. It is very easy to correct mistakes in a pencil drawing but exceptionally difficult to make changes to ink.
Drawing a Squirrel: Step 2
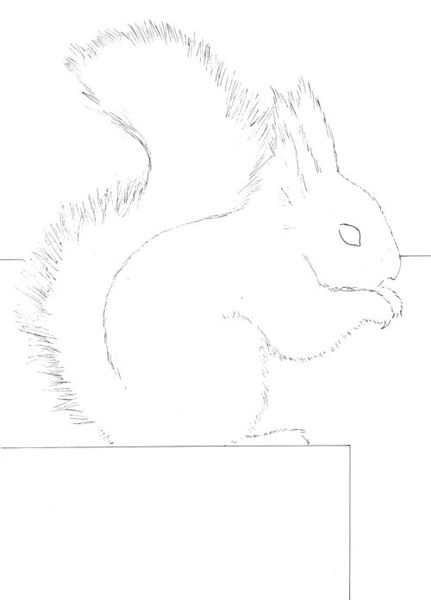
The second step in our drawing is to ink over the sketch and erase the pencil lines.
Note: As ink is a wet medium, give your drawing plenty of time to dry before you erase the pencil lines or you may smudge the image.
Drawing a Squirrel: Step 3
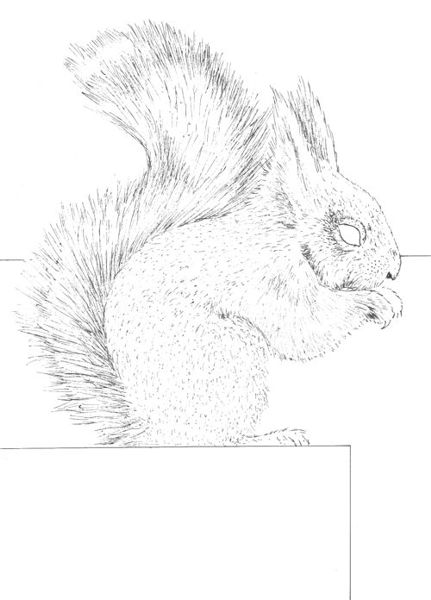
The next step is to start to build up the texture of the squirrel's fur.
Note: All the lines and marks you draw should follow the natural direction of the bristles as this will help you to establish the form and texture of the animal. Short stippled marks are used for the fur on the squirrel's body while longer strokes of the pen are used to suggest its bushy tail.
Drawing a Squirrel: Step 4
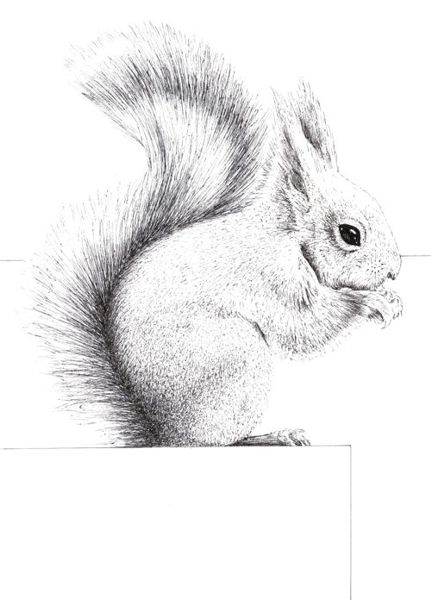
The penultimate step in our squirrel drawing is to concentrate on strengthening the darker tones and texture of its fur.
Note: Still following the natural direction of the bristles, denser concentrations of stipples and strokes are built up to convey the deeper areas of tone. The range of tones should vary from dark sections of heavily hatched strokes and stipples to light patches of paper that are hardly marked. The texture of the squirrel's fur naturally follows as a by-product of this stippling and hatching pen technique. The dark shiny eye was also added at this stage by hatching lines until they formed a dense black tone but carefully leaving areas of untouched highlights to suggest its reflective surface.
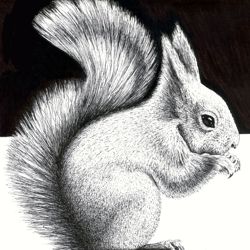
Drawing a Squirrel: Step 5
Finally, a simplified background of three bold areas of tone was applied to highlight the visual elements in our drawing.
-
The black area at the top, which was painted with ink, illuminates the shape of the squirrel's head and tail creating a light image against a dark background.
-
The central white area, which is untouched paper, emphasizes the texture of the squirrel's fur and creates a counterchange with the top of the drawing: a dark image against a light background.
-
The lower grey rectangle that supports the squirrel forms a geometric counterbalance to the serpentine curves of the animal, while its flat cross-hatched tone is a welcome contrast to the stippled texture of the squirrel’s fur.