Charcoal Portraits - Art Materials and Techniques
This lesson illustrates the materials used for charcoal drawing and demonstrates some useful techniques to help with your artwork.
Charcoal is a versatile medium that can be used in an expressive drawing style or with a more detailed technique suited to naturalistic art. It is available as ‘vine charcoal’ which comes in the form of charred sticks or as ‘compressed charcoal’ in the form of crayons or pencils. It is often used in combination with white chalk on a neutral colored paper to extend its tonal range.
Charcoal and chalk drawings stand on their own as an independent artistic genre but the medium is also used in a supporting role to establish the under-drawing for oil or acrylic paintings.
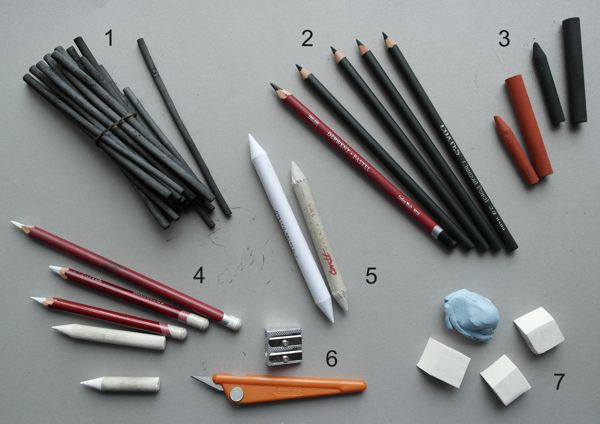
In our image we have laid out a standard range of materials that you could use for drawing with charcoal and chalk.
-
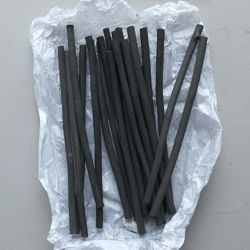
Charcoal Sticks
-
Charcoal Pencils
-
Charcoal and Conté Crayons
-
White Chalk and Pastel Pencils
-
Tortillons - Paper Blending Stumps
-
Sharpeners
-
Erasers
1. Charcoal Sticks: These are often referred to as 'vine charcoal' and are usually made from charred twigs of willow wood. 'Vine charcoal' comes in various thicknesses and densities, hard, medium and soft, which offer the artist a range of dark tones. It is a brittle medium which produces a dark velvety line that smudges easily, making it ideal for shading techniques.
2. Charcoal Pencils: These are a compressed form of charcoal which is bound with clay and encased in wood to form a pencil. Charcoal pencils are available in three grades, light medium and dark, providing the artist with a wide range of tones. As they can be sharpened to a fine point and are less messy than 'vine charcoal', they are more suited to the detailed drawing techniques that you associate with traditional pencil drawing.
3. Charcoal and Conté Crayons: Charcoal crayons, originally called Conté crayons, are composed of powdered charcoal mixed with a wax, clay or gum binder. They are available in the form of round or square sticks which come in light, medium and dark tones. The darkest crayons are soft and smudgy as they contain more charcoal pigment in relation to binder, making them more suitable for bold, expressive drawing. The lightest ones, which contain less charcoal, are harder and better for drawing cleaner and sharper lines.
Conté crayons, which now come in a wide range of colors, were traditionally manufactured in black, bistre (brown), sanguine (red) and white tones and are a medium that we associate with many drawings from the 18th and 19th centuries.
4. White Chalk and Pastel Pencils: We find that ordinary school blackboard chalk is the ideal medium for applying the light tones to a charcoal drawing. It is hard and opaque and may be sharpened to fine point for detailed work, but it can also be applied expressively and smudged to create soft and transparent effects.
White pastel pencils are more refined than blackboard chalk but also more expensive. Titanium White pencils contain an opaque pigment which is better for bright highlights while Chinese White pencils have a more transparent pigment that is suited to softer effects.
5. Tortillons: These are compressed paper stumps which can be sharpened to a point for blending and graduating areas of charcoal shading. They come in a range of thicknesses for both broad and fine work.
6. Sharpeners and Craft Knives: The best and safest tool for sharpening charcoal, chalk and pastel pencils is a double barrel pencil sharpener. These have a small barrel for pencils and a large one that is ideal for sharpening sticks of blackboard chalk to a fine point. You can also buy Pastel Pencil Sharpeners that are specifically designed to cut at a shallow angle to prevent their soft cores from breaking.
Craft Knifes are also a very efficient alternative but they are razor sharp and should never be used with young students. Older students should always be supervised and receive instruction on their use. Even then, not everybody feels comfortable using one due to their potential hazards.
7. Erasers: In addition to their normal function, erasers are used to create light tones by removing layers of charcoal from the surface of a drawing. You can 'etch' fine lines of light into a dark area of charcoal with an eraser that has been cut to form a sharp edge (see our techniques below).
'Blu Tack' is an excellent tool for lightening a dark area of drawing. It is far more sensitive and less abrasive than an eraser for removing charcoal from the surface of your work. It can also be moulded to a fine point to pick out highlights that would prove tricky to create with a conventional eraser.
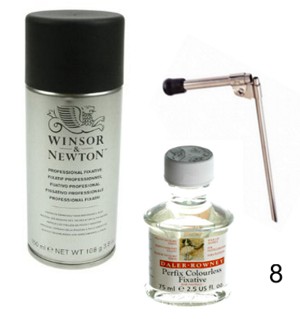
8. Fixative Sprays: Charcoal and chalk fixatives are quick drying, colorless glues that you spray onto your work to prevent it from smudging. These are available as aerosols or as a bottle of liquid that you can spray with a mouth atomizer. You should be aware that fixatives are toxic and should only be used in a well ventilated area, preferably outside and definitely not in a classroom with other students around.
A more economical and less hazardous alternative to fixative is hair spray. Use the cheapest (firm hold) supermarket brand you can buy as they do not contain the natural and synthetic oils that will discolor your work.
Do not spray fixative too close to your drawing as it may splatter and stain your image. It is best to spray from several feet away, building up the protection with several light coats rather than one heavy one.
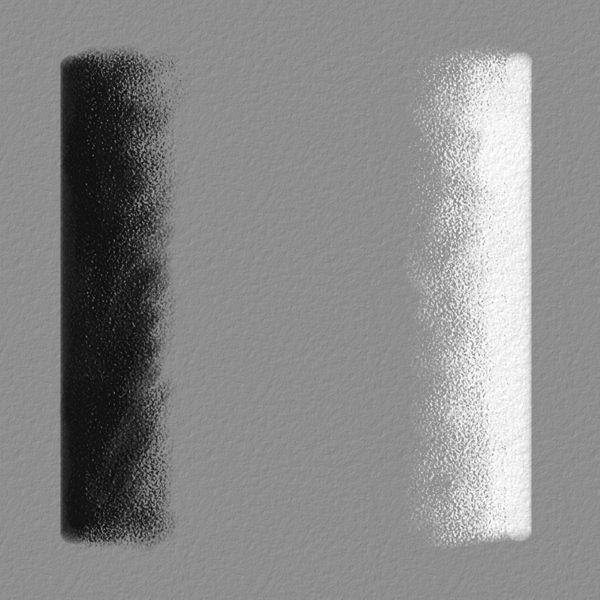
Charcoal Drawing Materials: Choosing the correct tone of paper
Charcoal and chalk tones on grey sugar paper
The color of paper that you choose for charcoal and chalk drawing is very important as it will influence the balance of your tones. Ideally you are looking for a mid-toned paper that sits halfway between your darkest charcoal and brightest chalk marks.
When drawing with charcoal and chalk you balance three elements to create an image:
- The Dark Tones (charcoal).
- The Light Tones (chalk).
- The Mid-Tones (the color of your paper).
Sugar paper, which is available in a variety of mid-tone colors, is both cheap and ideal for charcoal and chalk drawings.
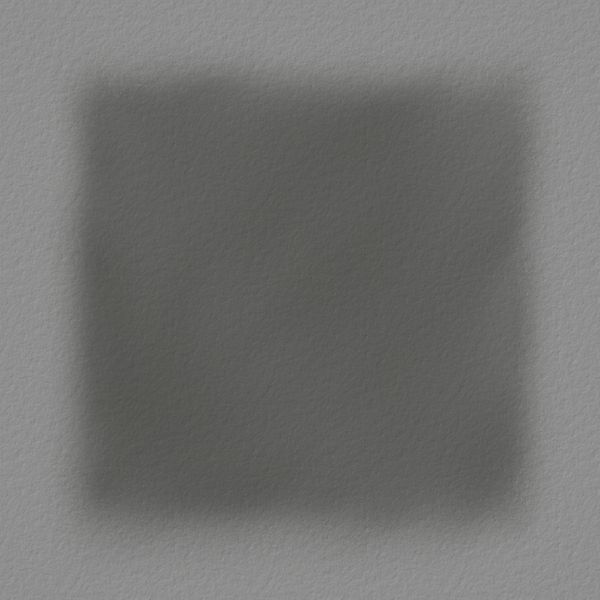
Charcoal Drawing Techniques: Creating a flat tone

Click on the flip icon to view.
Use this technique to create a flat area of tone:
-
Lightly cross hatch the area you wish to fill in with a soft charcoal stick or pencil.
-
Using a tortillon, tissue or your finger, softly smudge the hatched lines which will slowly disperse until they blend into a flat unified tone.
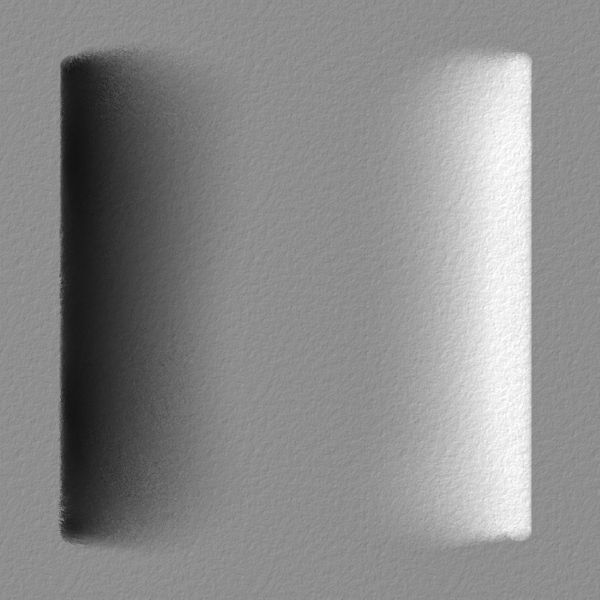
Charcoal Drawing Techniques: Creating a graduated tone
Click on the flip icon to view.
Use this technique to create a graduated area of tone:
-
Draw the dark edge of the surface with soft charcoal and the light edge with chalk, taking care to leave a neutral area of grey paper between them.
-
Using a tortillon, tissue or your finger, softly smudge the dark edge towards the light and the light edge towards the dark, still taking care to leave a some of the neutral area of grey paper unblemished.
-
This process should leave you with a balanced graduation of tones where the charcoal creates the dark tones, the chalk creates the light, and the color of the paper provides a natural mid-tone.
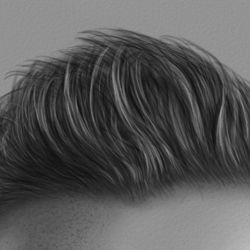
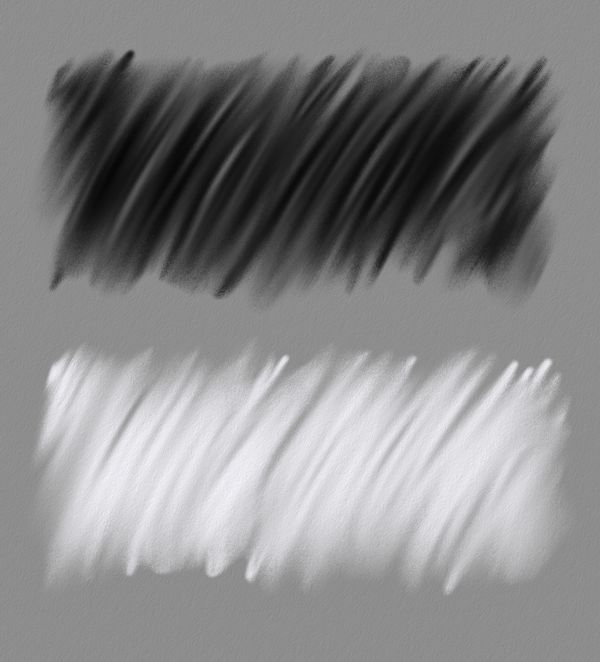
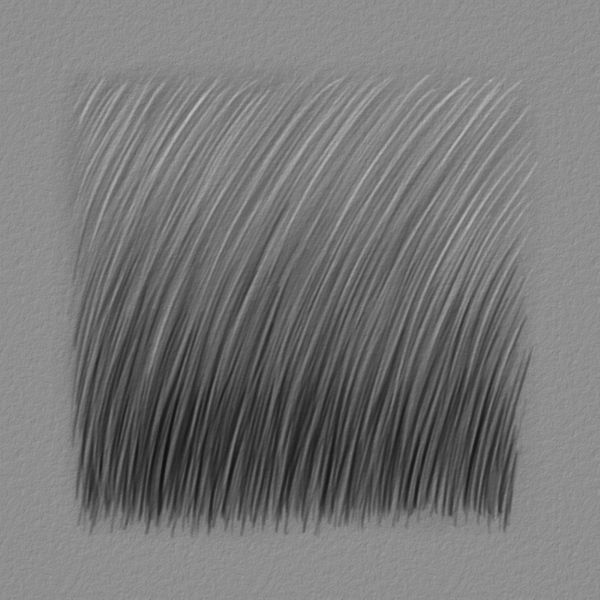
Charcoal Drawing Techniques: Creating a texture

Click on the flip icon to view.
This is the technique that we used to create the hair on our Charcoal and Chalk Portrait.
-
Start by creating a flat tone like the one in our illustration.
-
Using an eraser with a sharp edge, lift out some lines from the flat charcoal tone to create the first stage of the texture.
-
Next, hatch some light lines with white chalk to suggest a lighter area of texture.
-
Finally, hatch some dark lines with charcoal, to suggest a more shaded area of texture. Gradually mix and merge the lines from the dark area into the light and vice-versa to form a suitable texture for strands of hair or blades of grass.