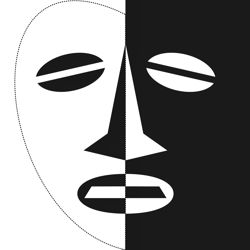
African Mask Lesson Step 8 - The Finished Design
This step will help you to develop the style of your African mask design.
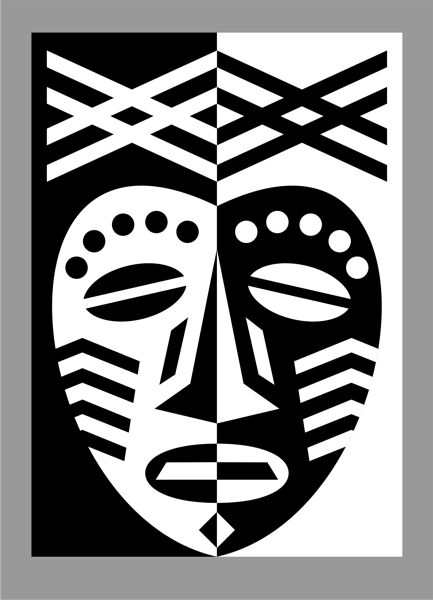
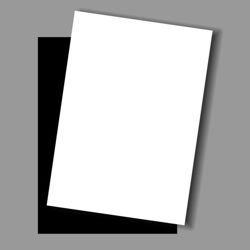
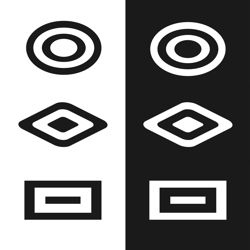
Once you have completed the arrangement of your design, glue the light shapes down onto the dark background.
-
Take care to ensure that a neat line is formed down the middle of the mask where the two halves of the design meet.
-
An accurate symmetry across this line is essential to the success of your image.
-
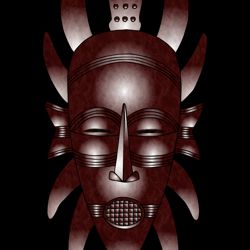
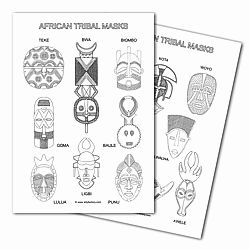
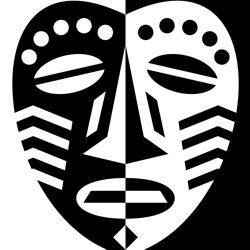
Our African Mask Design Lesson demonstrates the interaction of positive and negative shapes in a symmetrical arrangement using black and white paper.
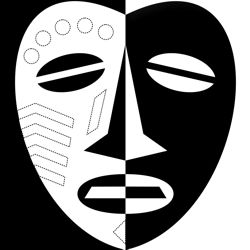
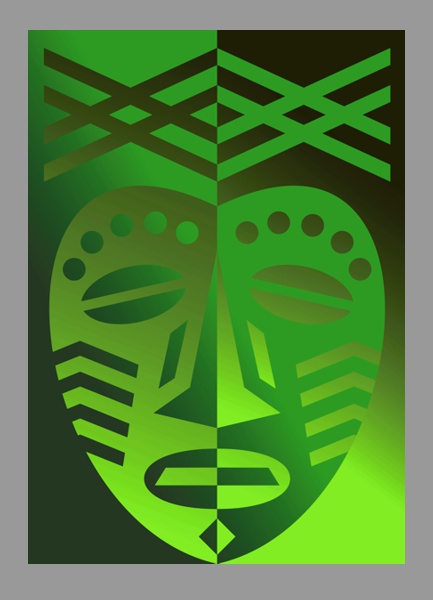
African Mask Lesson - Developing your mask design
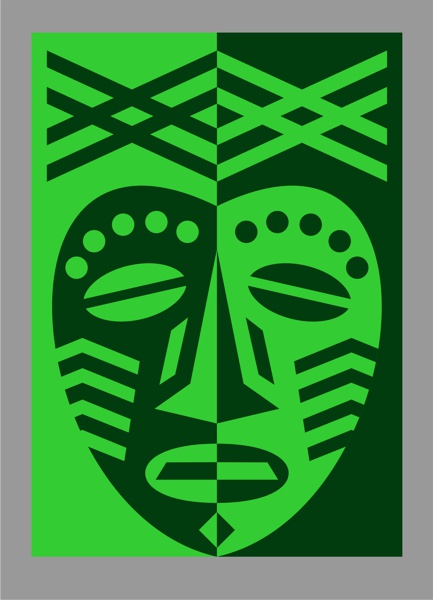
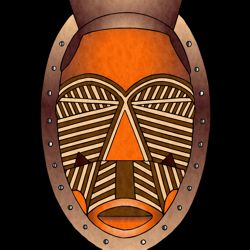
Development 1
The following variations of our lesson illustrate other possibilities for developing your design with color, pattern and texture.
-
Using different combinations of colored paper will affect the mood of the mask.
-
Color has a strong effect on our emotional response and it may also be used symbolically.
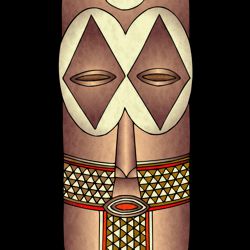
-
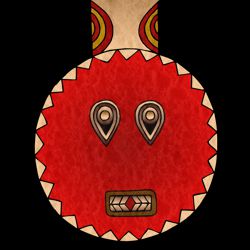
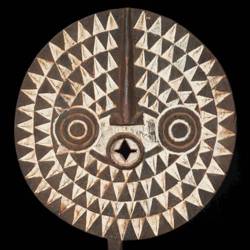
Two tones of green have been used on this mask to suggest the color of the forest.
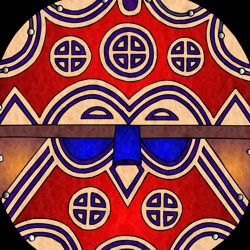
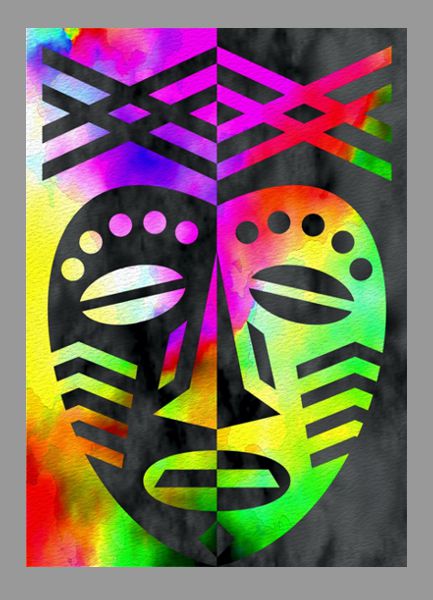
Development 2
Use different techniques to change the effect of your design.
-
The sheets of paper could be sprayed with colored inks at the start of the project.
-
This technique will create a more ephemeral effect of changing light and color.
-
Note: If you are spraying or painting your paper before cutting it out, you should use a heavy grade paper (250gms - 300gms) or card. Alternatively, you can stretch your paper to stop it buckling when wet.
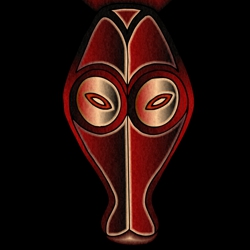
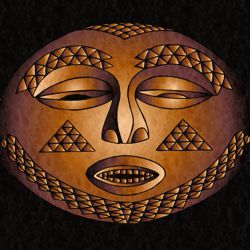
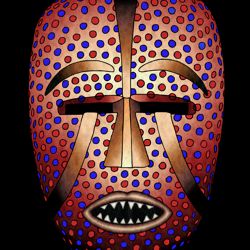
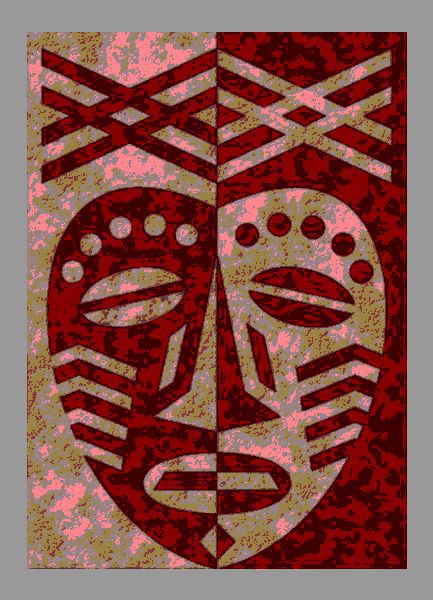
Development 3
Contrasts of pattern, texture and color can be used to increase the expressive power of your mask.
-
Experiment with different combinations to see if you can improve the impact of your mask design.
-
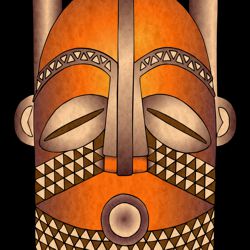
Here a fluid watercolor technique is applied to the paper to create a stained effect.
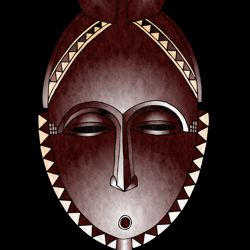
Development 4
You can texture the card for your mask design with various materials such as paint, acrylic gesso, glue, sand, colored tissue etc.
-
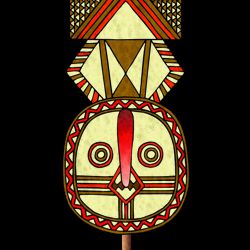
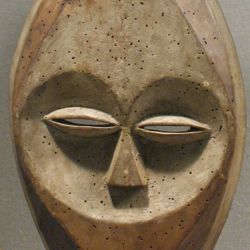
Rough, worn and weathered effects give the mask design an authentic antique look.
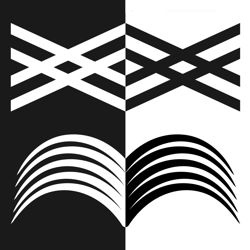
Development 5
The cut out sections of the mask could also be used to create a stencil for spraying your design onto any surface.
-
Whatever materials you use, you must keep a strong tonal contrast between the opposite halves of the mask.
-
You want your mask design to be bold and simple so that it may seen clearly from a distance.
-
Subtlety is not a quality you look for in tribal masks.
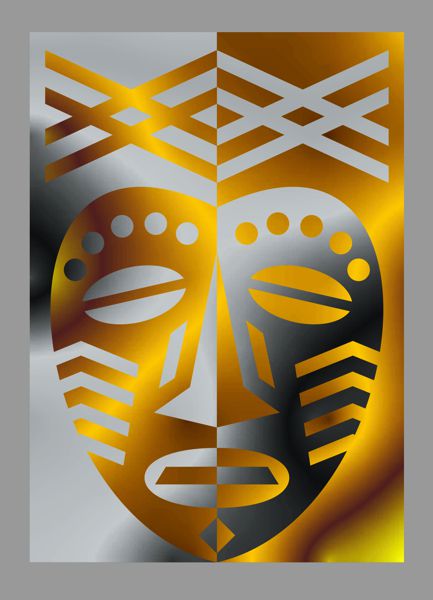
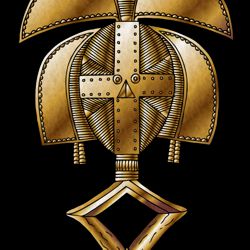
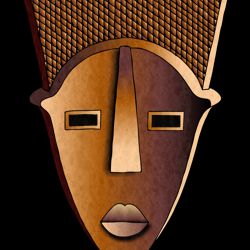
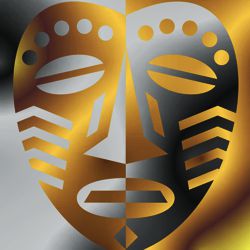
Development 6
Using card with a metallic or reflective surface can produce interesting effects in the way it scatters and changes the light and tone of the mask design.
-
It also modernizes the style of these images which start to take on a sci-fi quality.
-
Sci-fi imagery is often based on the iconography of ethnic or ancient cultures.
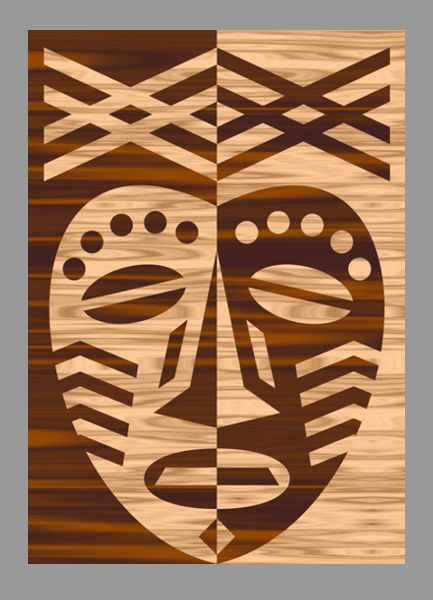
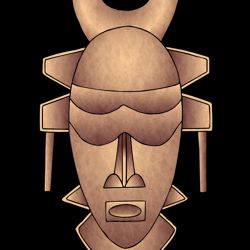
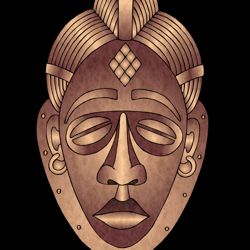
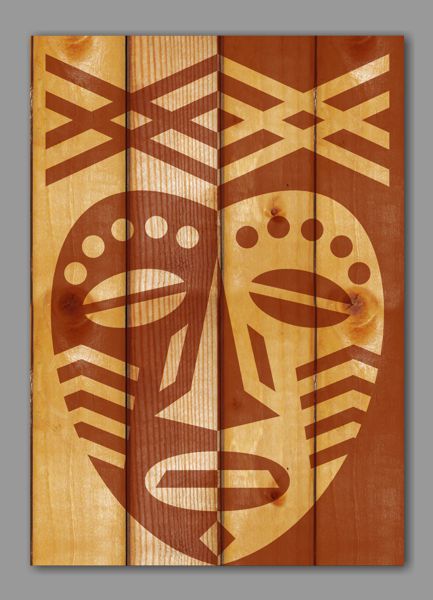
Development 7
You can use any materials that are capable of being cut and pasted to make our mask design. So try to experiment with any suitable media or techniques that comes to hand.
-
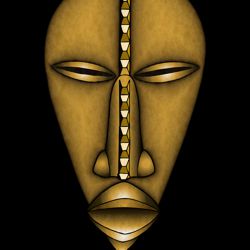
For our final example, the image above illustrates how our mask lesson has been adapted for the technique of marquetry - the cutting and gluing of thin veneers of dark and light woods to create a striking design.