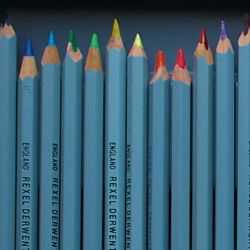
Color Pencil Portraits - How to Draw Hair
This step by step lesson teaches you how to draw hair with layers of rhythmic lines that follow the direction of its growth and styling.
When we draw hair we use a different color pencil technique from the rest of our portrait. The hair is constructed with layers of rhythmic lines that follow the direction of its growth and styling.
When to Draw the Hair
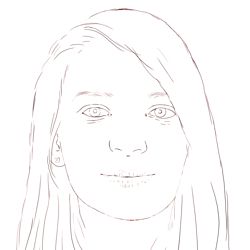
Click on the flip icon to view
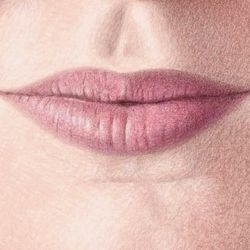
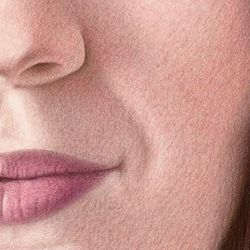
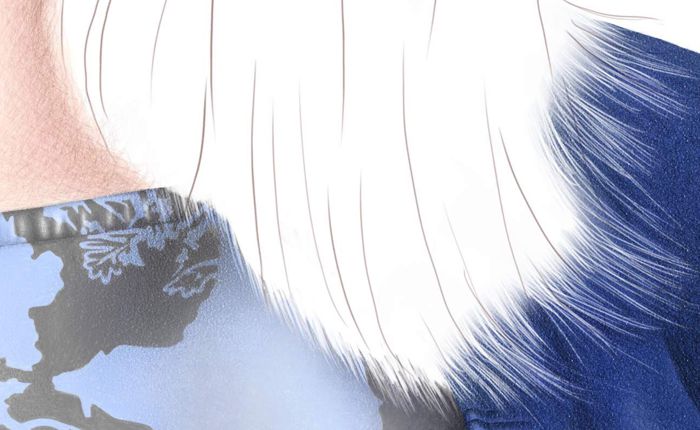
It is best to start drawing the hair after you have completed the skin and the clothes. As the hair overlaps both these features, it is more practical to draw the feathered edges of the hair over them. This will give your drawing a more natural appearance.
-
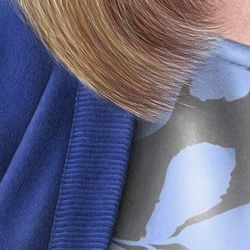
The main problem with this method arises when the light hair overlaps a darker background. For example, if you simply draw strands of hair over the cardigan using light color pencils, their brightness will decrease as color pencil pigment is transparent and will be subdued by the darker background color.
-
Our way around this is to use a sharpened eraser to 'etch' feathered hair lines of white into the clothes. These white lines will pick up the light strokes of color to create a sharper definition against their darker background. (click on the flip icon to view)
Drawing the Hair - Step 1
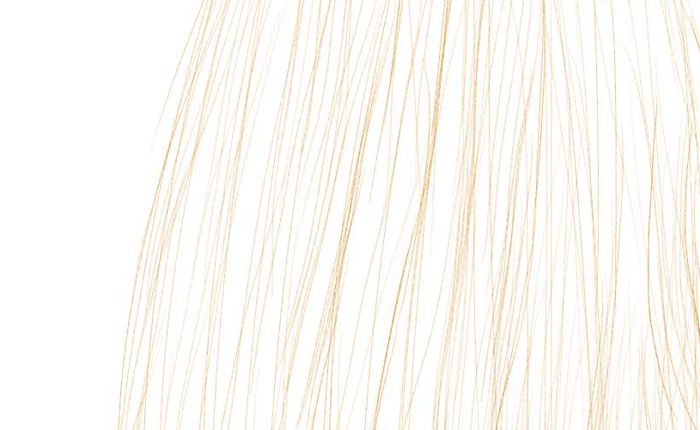
Start with light rhythmic lines
When we begin to draw the main body of the hair, we start by hatching strands of light flowing lines that follow the direction of its growth and styling.
- The lines in the hair should be both rhythmic and unhesitating, drawn with a degree of speed and confidence.
Drawing the Hair - Step 2
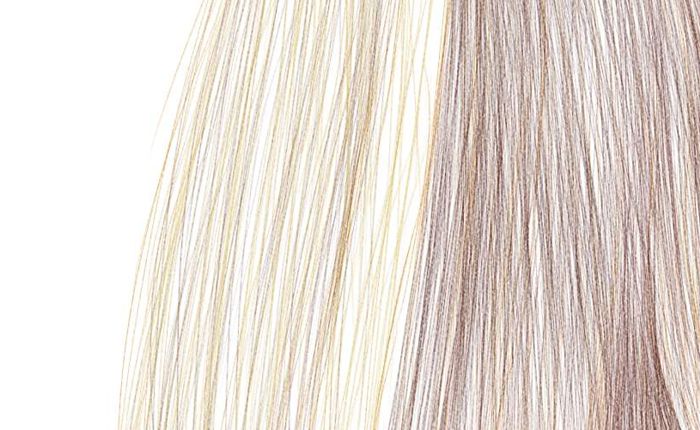
Build up the hair with darker lines
Next, the hair is built up step by step in layers, starting with lighter lines then gradually introducing darker ones to add color, tone, texture and form to the strands of the hair.
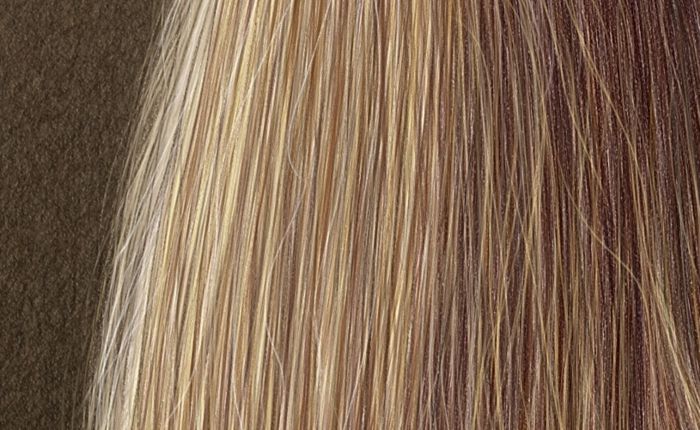
Drawing the Hair - Step 3
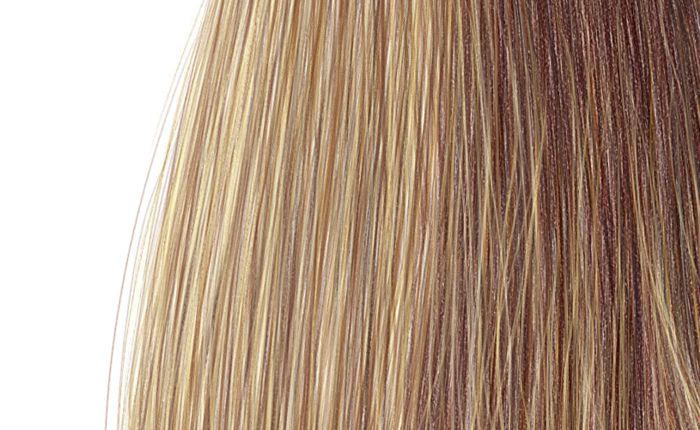
Intensify the color, tone and texture
This stage is really a repetition of the previous two. Here we continue to establish and intensify the form, tone and texture of the hair with a wider range of light and dark colors.
-
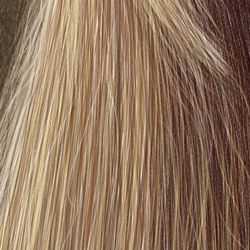
If you look closely at someone's hair, you will not see one single color such as brown, black or blond. What you usually see is a myriad of shades and tints that combine to form the overall effect of the hair.
-
In this case we have applied our range of light and dark color pencils in dense layers of lines to simulate the natural depth and lustre of the hair.
-
To add to the realism and complexity of the hair texture, we have 'drawn' over the darker sections with a sharp eraser to etch some light lines of hair over the top. As explained in our earlier remarks about the transparency of color pencils, this is the best drawing technique for applying light colors over dark.
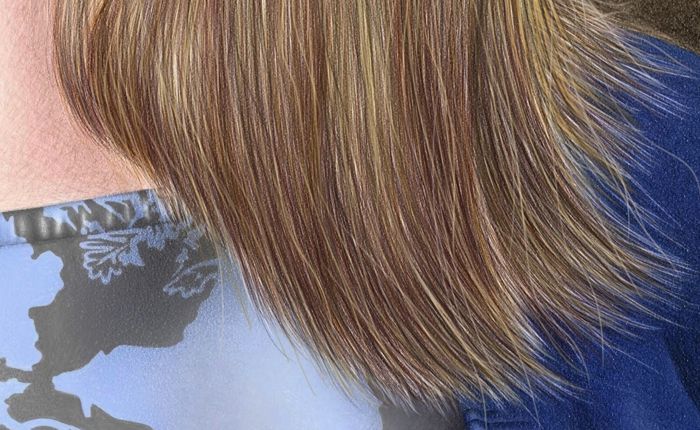
Drawing the Hair - Step 4
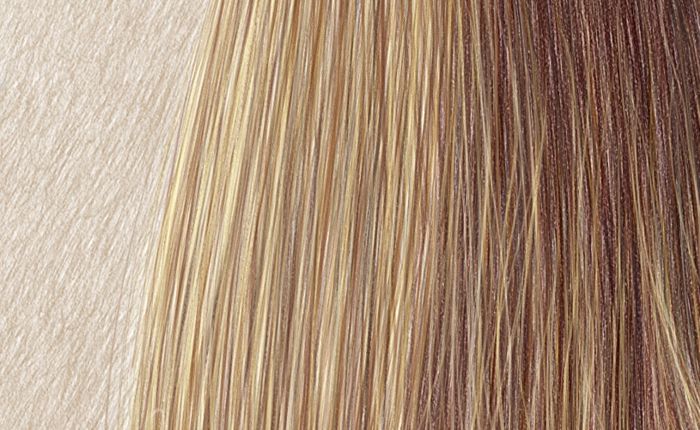
Evenly shade a neutral background
Once you have established the complex surface of the hair, it is time to put it in context by adding a background color.
-
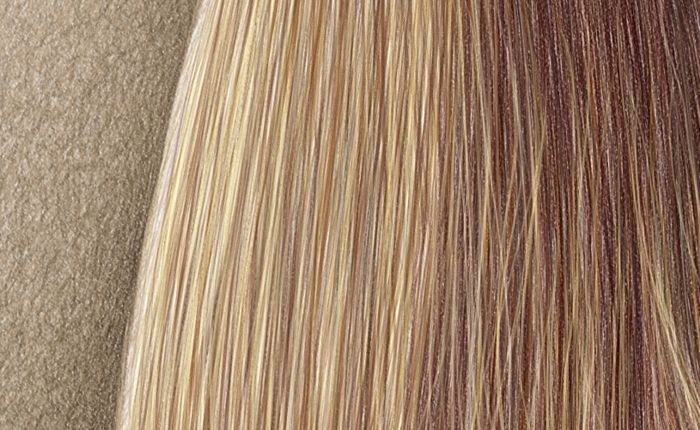
We started by shading a neutral background color that would not jump out too much. As our background is not too dissimilar from the color of the hair, it has the advantage of blending discreetly where they meet.
Drawing the Hair - Step 5
Add contrast to the background
Although there are some advantages in the color we chose for our background, it tended to be too flat and in need of more contrast to increase the depth of the image.
-
Consequently, we darkened some areas of the background and lightened the edge of the hair to strengthen the contrast between them.
Drawing the Hair - Step 6
Intensify and balance the tones
Finally, as with most drawings that are built up over a period of time with different sections or layers, you need to unify and balance all the elements.
-
Here we have intensified some of the darker tones to increase the dramatic impact of the drawing and added some lighter detail to enhance the depth of the image.
-
Some of the fine hairs on the surface, which are too light and delicate to draw with a color pencil, have been scratched into the drawing using a pointed scalpel blade.
A Step by Step Summary
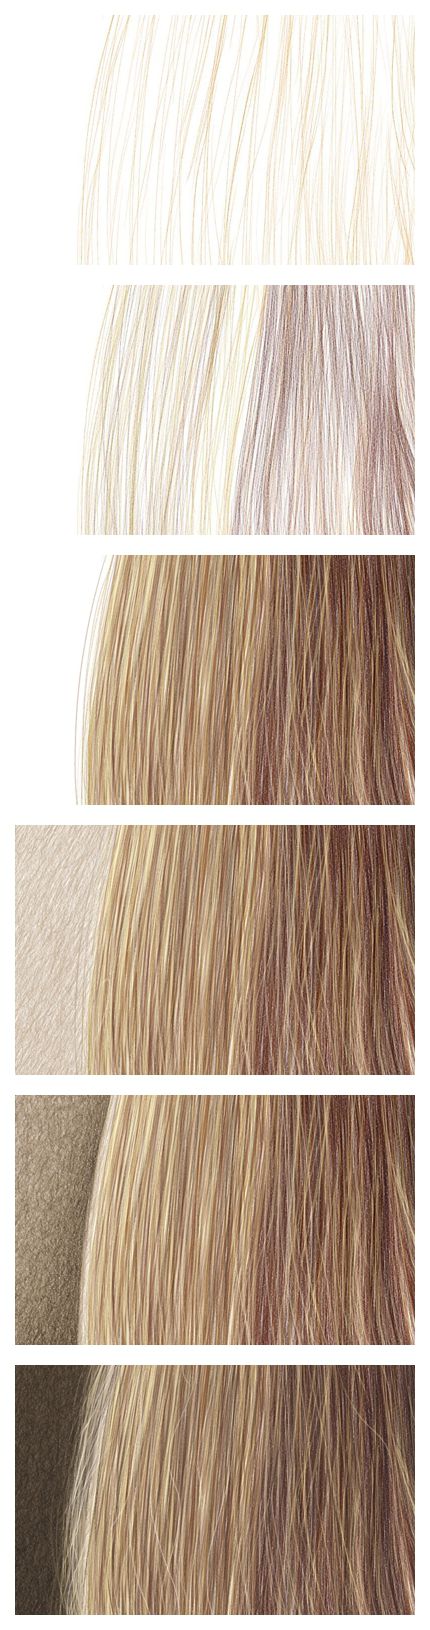
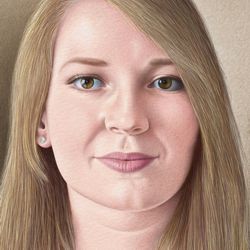
In our illustration you can see how our color pencil drawing is built up in a series of layers that gradually refine the elements of line, color, tone and texture to create a convincing representation of the hair.