Ancient Egyptian Cartouche Lesson
This lesson teaches you how to design an ancient Egyptian cartouche which has the power to protect the person whose name it frames.
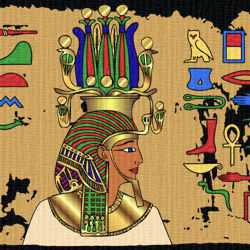
A cartouche is an oval frame which surrounds the hieroglyphs that make up the name of an Egyptian God or royal person. Our illustrated example is based on the cartouche of Tutankhamun.
-
A cartouche represents a looped rope which has the magical power to protect the name that is written inside it.
-
It was meant to protect against evil spirits both in this life and the afterlife.
-
Cartouches can be arranged both horizontally or vertically depending on the best layout for its design.
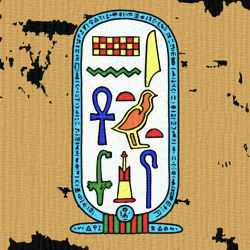
How to Construct a Cartouche
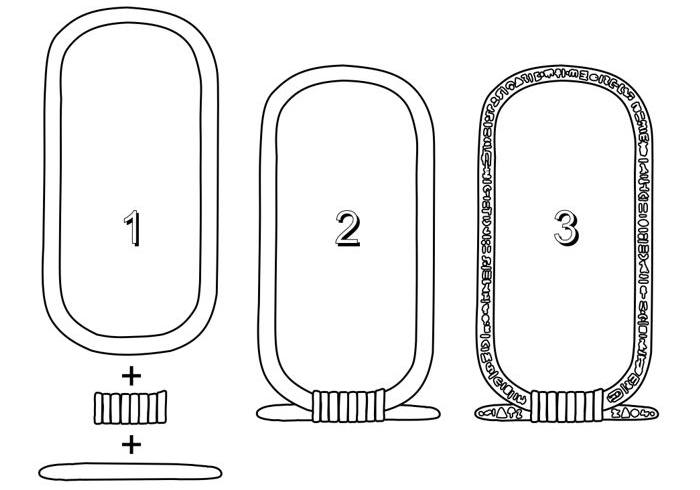
There are three components used to construct a cartouche.
-
Illustration 1 - shows the three separate components: the oval frame; the stand; and the rope which binds them together.
-
Illustration 2 - shows the three components combined to form a basic cartouche frame.
-
Illustration 3 - shows the frame of the cartouche decorated with small hieroglyphs.
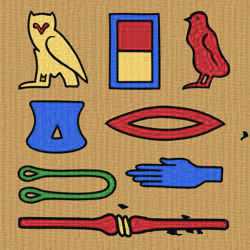
Your Hieroglyphic Name
The Ancient Egyptians wrote in pictorial symbols called hieroglyphs which represent the images and sounds of their language.
-
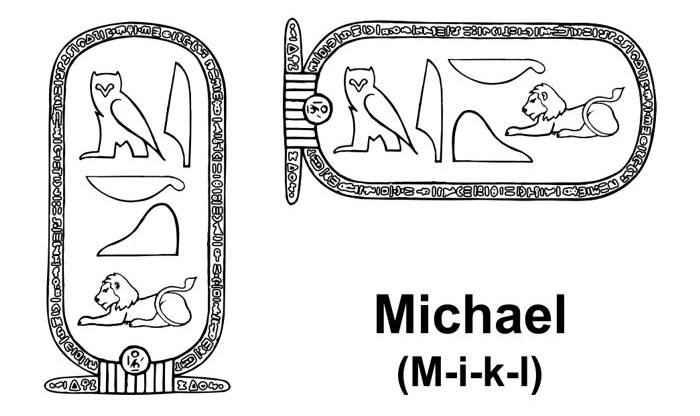
In this cartouche we have enclosed the hieroglyphs that spell out the sounds of the name 'Michael'. Note that although there are seven letters in the name 'Michael', there are only four basic sounds 'M - I - K - L'. Therefore we only need to use the hieroglyphs that represent those sounds. A more detailed explanation of this translation process is given on our Hieroglyphic Alphabet pages.
-
Hieroglyphs should be arranged to create interesting designs instead of the straight lines that we use to arrange our letters and sentences.
-
Cartouches are usually positioned vertically but they can also be positioned horizontally to make them fit more comfortably into a design. The arrangement of the hieroglyphs inside is then reorganized to accommodate the horizontal layout.
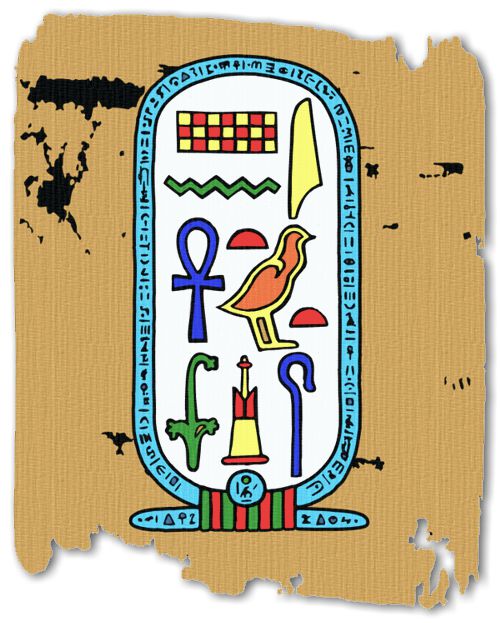
Coloring the Cartouche

Once the cartouche and hieroglyphs are drawn, you are ready to apply color.
-
In contrast to the weathered look we created for our Egyptian Art Lesson, the painting technique that we have used here gives a fresher look to your images - the sharp clean look that Ancient Egyptian paintings would have had when they were first painted.
-
These images were colored using designer's gouache, an opaque watercolor paint which is ideal for applying flat areas of color. The black line work was done afterwards with a felt pen.
Our Finished Examples
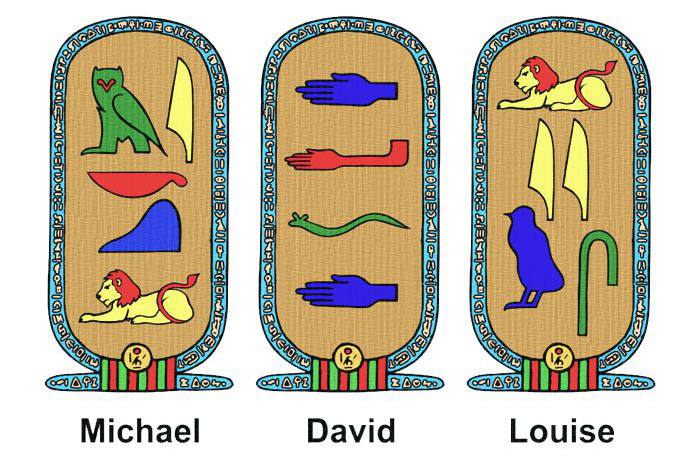
These three cartouches of the names Michael, David and Louise were created using our Hieroglyphic Alphabet to translate English into Ancient Egyptian hieroglyphics.