Acrylic Portrait Painting
This lesson starts with a slide show that illustrates the step by step process of painting a portrait with acrylics and is followed by an description of the materials used to create it.

- Slide Show
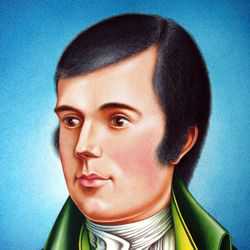
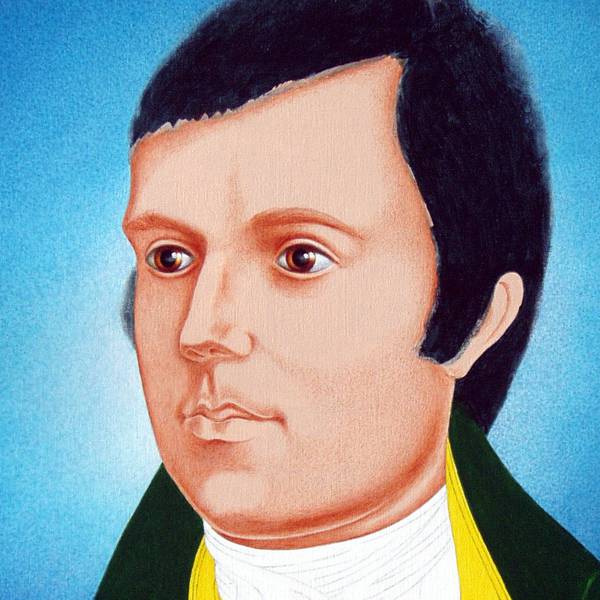
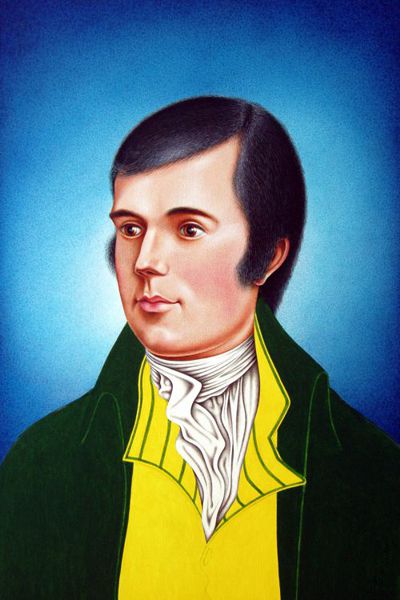
- robert-burns-acrylic-portrait
'An Acrylic Portrait of Robert Burns'.
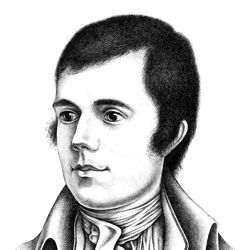
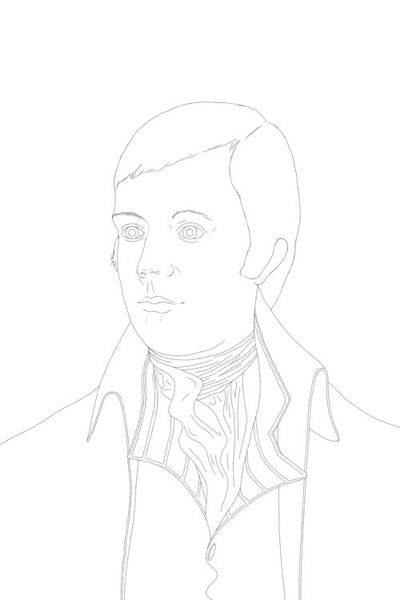
- robert-burns-line-drawing
Start the portrait with a line drawing.
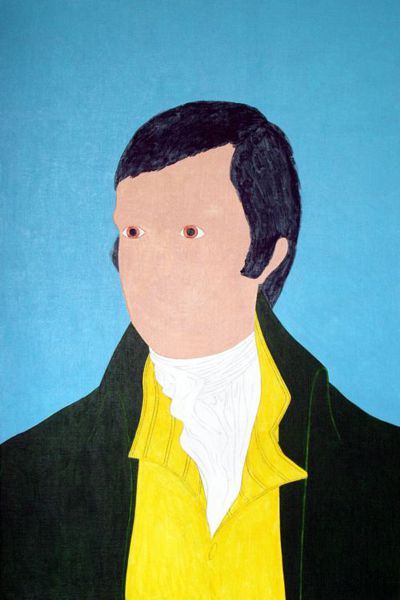
- robert-burns-portrait-1
Paint the main areas with flat color.
- robert-burns-portrait-2
Use graduated tones for the background.
- robert-burns-portrait-3
Start the head by painting the eyes.
- robert-burns-portrait-4
Use darker flesh tones for the face.
- robert-burns-portrait-5
Use light tones to illuminate the skin.
- robert-burns-portrait-6
Refine the tone and color of the skin.
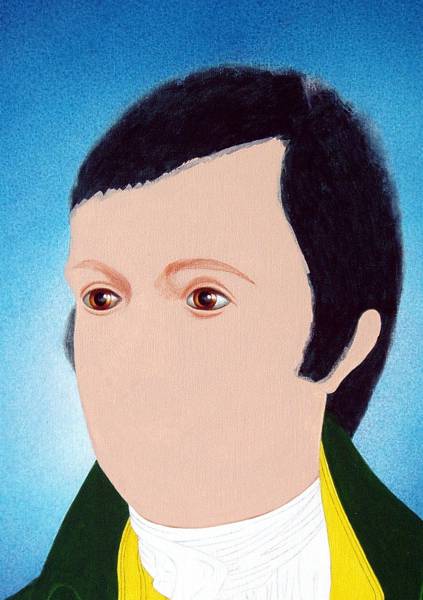
- robert-burns-portrait-7
Paint the hair after the face.
- robert-burns-portrait-8
Stipple the folds of the shirt.
- robert-burns-portrait-9
Stipple the folds of the waistcoat.
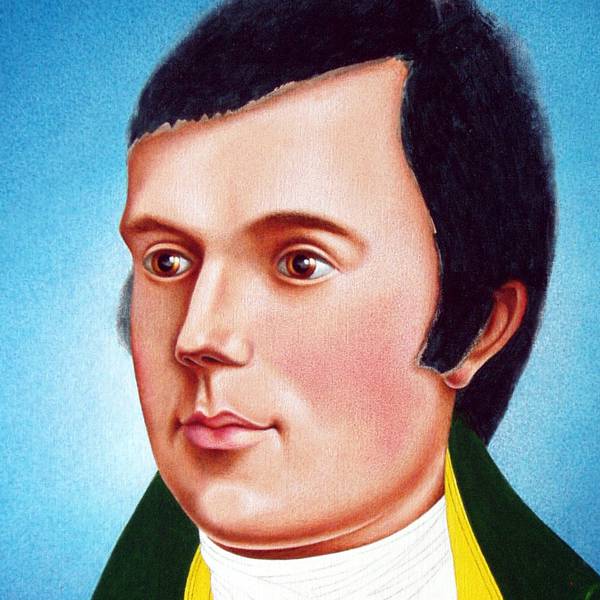
- robert-burns-portrait-10
Unify the texture of the waistcoat.
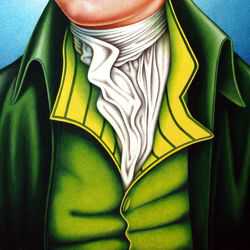
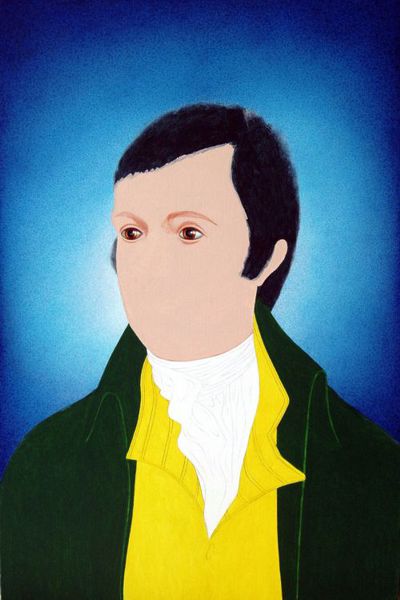
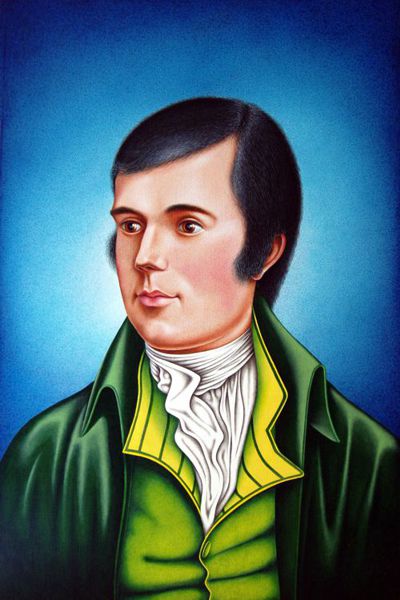
- robert-burns-portrait-11
Paint the dark tones of the jacket.
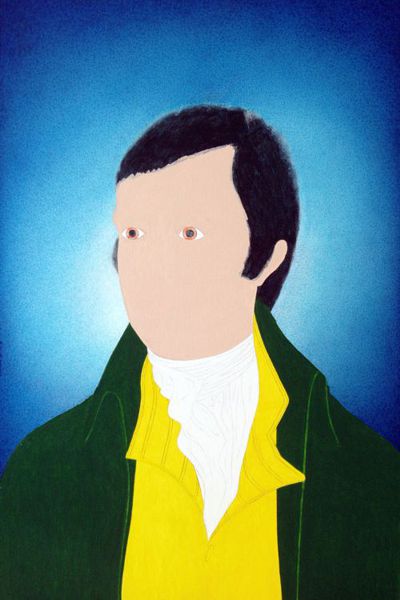
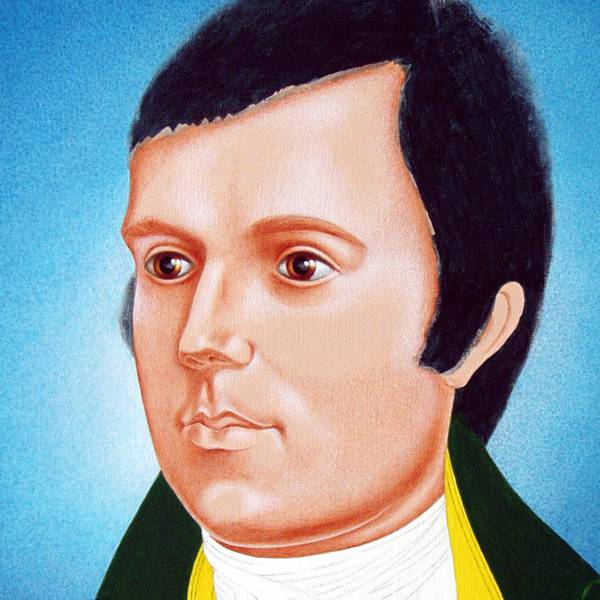
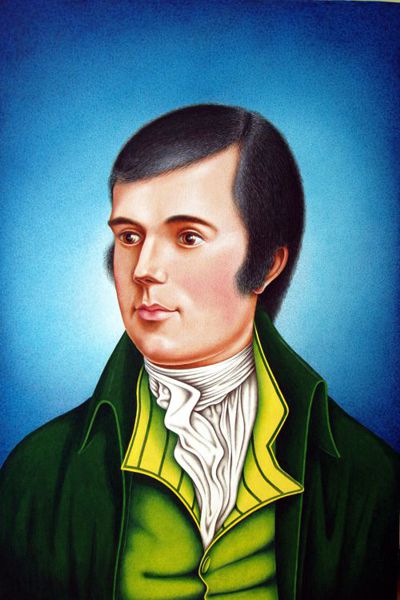
- robert-burns-portrait-12
Paint the light tones of the jacket.
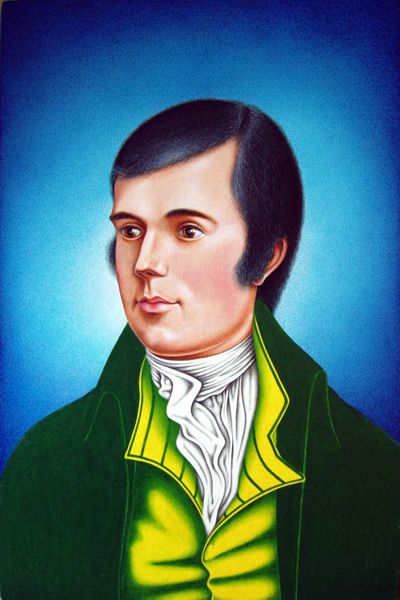
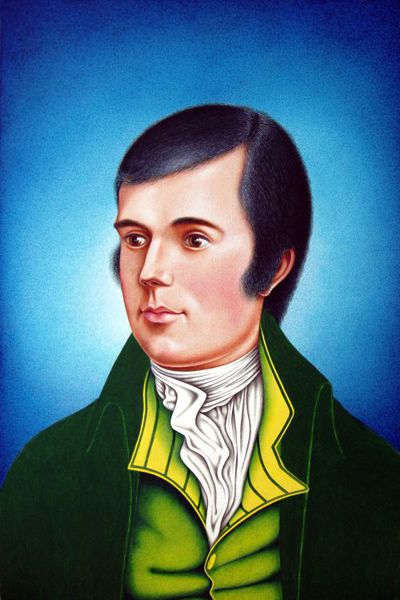
- robert-burns-acrylic-portrait
Blend and unify the tones of the jacket.
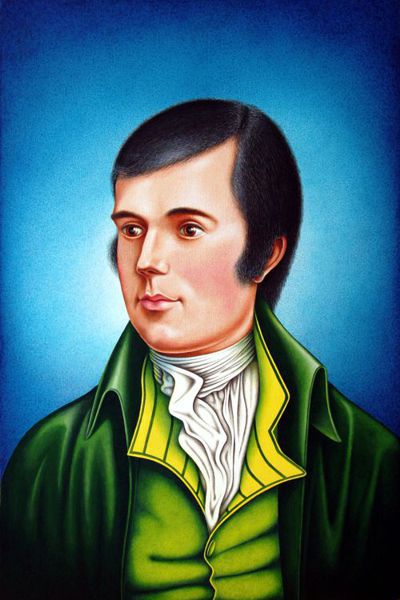
Our acrylic portrait of Robert Burns is used as a lesson to demonstrate the skills and techniques involved in painting with acrylics. Each stage of the work, from its commission to its completion, is carefully explained and clearly illustrated to help you understand this precise approach to painting with acrylics.
Acrylic paint is a versatile medium which can be applied as a heavy impasto, or as flat hard-edged color, or even thinned to the consistency of a watercolor wash. In our portrait we use stippling and glazing techniques adapted from Renaissance oil painting to produce a similar jewel-like radiance. The main advantage in using acrylics is in their quick drying time: minutes as opposed to days.
Please use our menu at the bottom of the page for a more detailed investigation of the painting techniques used in our acrylic portrait.
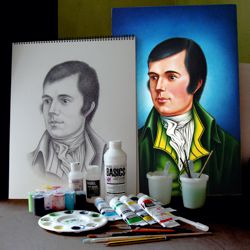
Acrylic Painting Materials
Acrylic Painting Materials
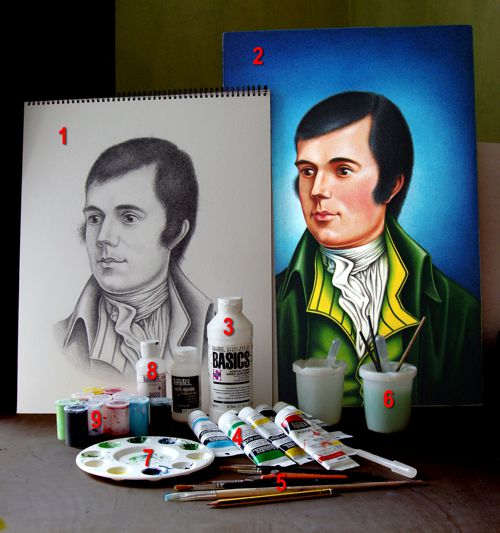
The materials used for our acrylic portrait of Robert Burns are displayed in our numbered illustration and described below:
1) The preparatory drawing of Burns done in pencil on paper.
2) The finished portrait on a stretched canvas.
3) Acrylic gesso that was used to prime the canvas. The stretched canvas is prepared with several coats of acrylic gesso, each sanded smooth before the application of the next, creating a perfect surface for painting.
4) Tubes of acrylic paint used to create the image. These also come in bottles and jars in a wide range of permanent colors. Acrylic paint is waterproof, flexible, non yellowing and permanent when dry.
5) A range of brushes used to apply the paint. All the fine details of our portrait were painted using sizes 1, 0 and 00 sable brushes. A craft knife with a curved blade was also used to scrape back and repair any mistakes in painting.
6) Water pots and pipettes used for mixing the paint. Acrylics can be thinned, mixed and cleaned with water. Pipettes are very useful tools for accurately measuring mixtures of water, medium and paint.
7) A palette used for mixing small quantities of paint. When acrylic paints dry on an acrylic palette, the paint peels off like a skin and you rinse the palette in water. This highlights another major advantage of acrylics over oils: cleaning up after using acrylics is a more hygienic and pleasant task than cleaning up after using oils.
8) Bottles of acrylic medium (gloss and matte) which were used for mixing colored glazes. Although you may use water to thin acrylic colors, it is best to add some acrylic medium to maintain the durability and elasticity of the paint. Acrylic medium comes in bottles of gloss, and matte medium to meet a range of surface effects. You need to experiment with various mixtures of paint, medium and water to create the type of glazes that suit your painting technique. Some artists will patiently build up many thin glazes of paint to achieve a specific effect; others want to get there fast and use thicker mixtures.
9) Airtight containers used to hold and prevent glazes from drying out. During a painting you invariably find, for a variety of reasons, that you need use some glazes again and it is very difficult to mix up a perfect match. Therefore, it is advisable to mix up more than you need and keep the remainder in an air tight container.