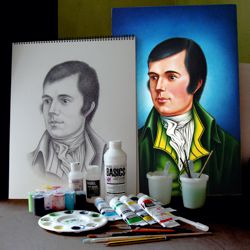
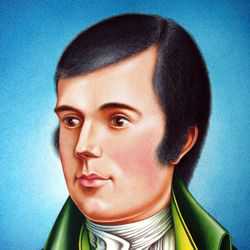
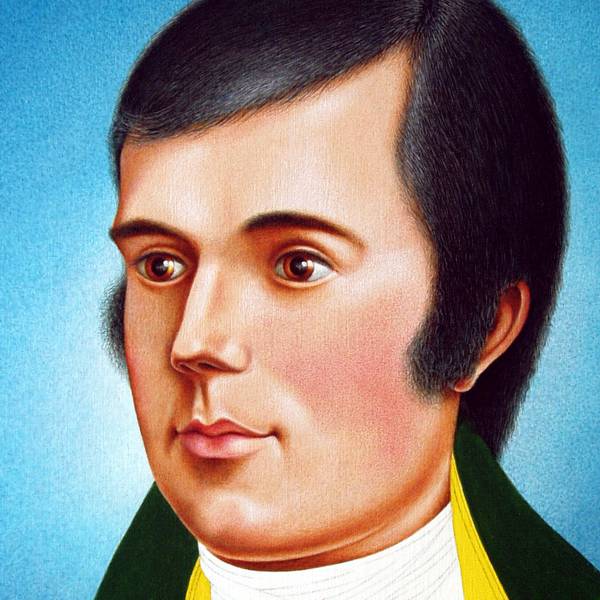
Acrylic Portraits - Painting the Face
This lesson illustrates how to paint a realistic face using acrylics, focusing on techniques for the eyes, skin and hair.
Painting the Eyes
The eyes should be the first feature of the face to be painted.
The eyes are the most important detail of a portrait and it is essential that you paint them first. They are the focal point of the face and the feature that brings the image to life. If, at the outset, you can suggest that spark of vitality which the eyes bring to a portrait, you will establish a strong foundation for the work, which in turn, will give you the confidence to tackle the other features of the face.
The Elements of the Eye
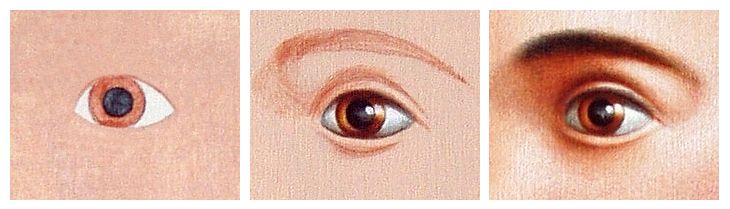
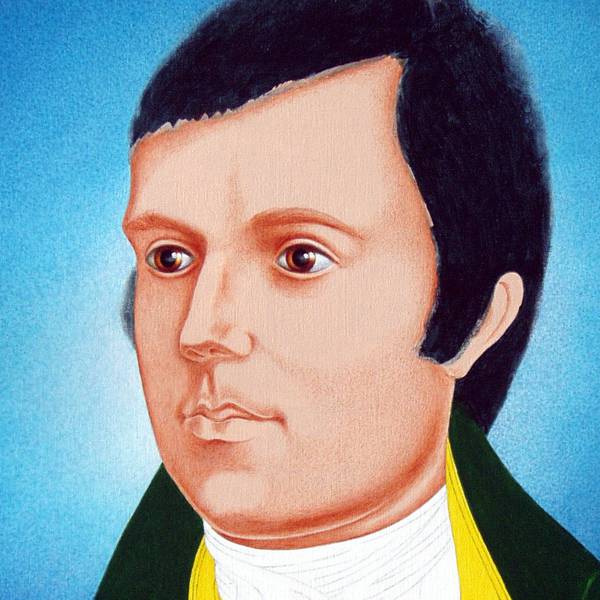
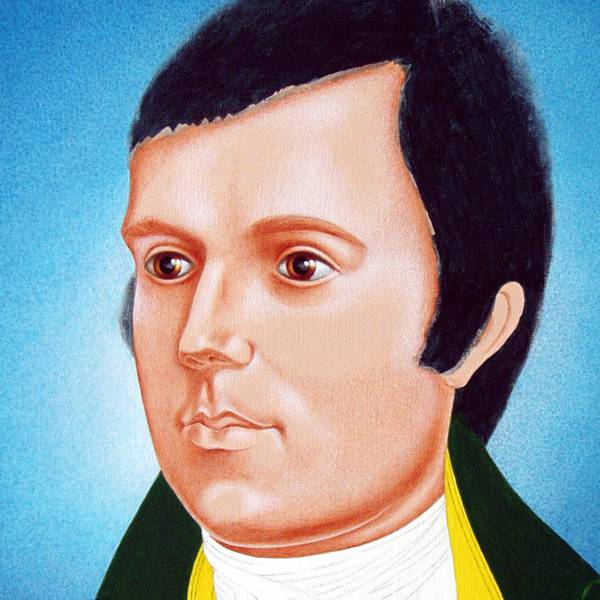
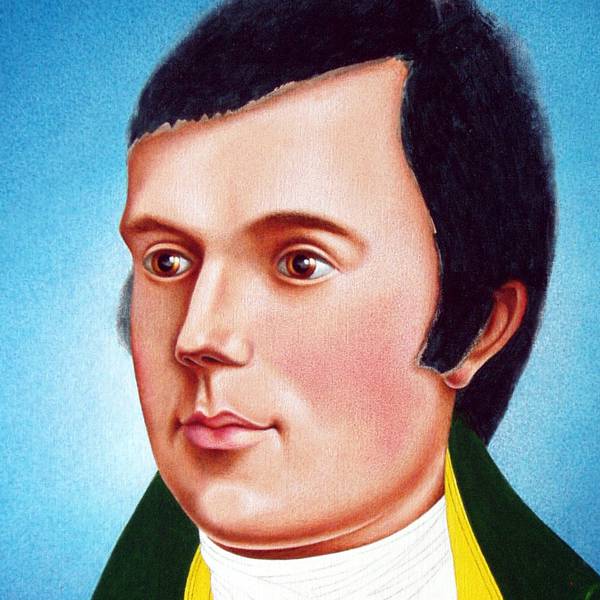
Three stages of painting the eye.
There are a few key elements that you need to capture in painting an eye: the solidity of the eyeball and surrounding eyelids, the luminosity of the iris, the depth of the pupil, and the reflected highlight on the surface of the eye.
The three images illustrate the painting of the eye at different stages:
1. The image on the left illustrates the initial underpainting of the eye in flat colors.
2. The middle image shows the first application of dark and light colors which begin to establish the solidity of the eyeball and eyelids:
-
The White of the Eye: a dark grey glaze is mixed from scarlet red, yellow medium azo and phthalocyanine blue and lightened with opaque titanium white. This is then applied in graduated layers to render the dark tones of the white of the eye. Note how the upper eyelid casts a strong shadow across the eye while the lower eyelid registers a weaker one. These shadows create the illusion that eyeball is resting comfortably in its socket.
-
The Iris: glazes of burnt sienna and titanium white are combined to suggest the refracted light of the brown iris. A little Prussian blue is added to darken the burnt sienna around the outer edge of the iris.
-
The Pupil: ivory black with a hint of Prussian blue is applied as the main color of the pupil. A grey glaze, mixed with titanium white for its opaque qualities, conveys depth in the suggestion of a reflected image.
-
The Reflected Highlight: this bright glint of light on the eye is gradually built up to the required level of luminance with layers of thinly mixed titanium white.
-
The Eyelids: the initial tone and form of the eyelids is sketched with strokes of a burnt sienna glaze.
3. The image on the right depicts the eye as it appears in the finished portrait with the addition of the eyebrows, eye lashes and refinements to the surrounding skin tones.
-
The Eyebrows: Facial hair like eyebrows and eye lashes are usually the same color as the hair on the head, but they are painted more delicately with the smallest brushes. The underpainting in these areas is simply a darker shade of skin tone. The soft texture of the hair on the eyebrows and eye lashes is slowly built up with delicate strokes of a thinly mixed ivory black. It is very easy to overdo these features, so you should start by applying a few strokes, then stopping to check the effect. Apply a few more, then stop and check again. Continue this process until you achieve the satisfactory density of hair for the eyebrows and eye lashes. It is often better to omit the lower eye lashes which tend to obscure the the tone and consequently the form of the lower eye lid.
NB. All the fine details of our portrait were painted using sizes 1, 0 and 00 sable brushes.
Balancing the Eyes
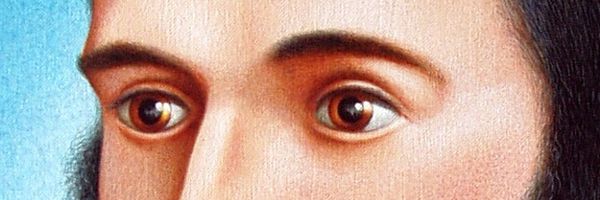
It is very important to balance the shapes, tones and colors of the eyes.
The overall balance between the eyes is a key element in achieving any likeness. You should build up the painting of both eyes at the same time in order to capture the balance between them. This essential relationship is far more difficult to achieve if you bring one eye to a state of completion and then start on the other.
NB: Our lesson on pencil portraits should help you with drawing the eye.
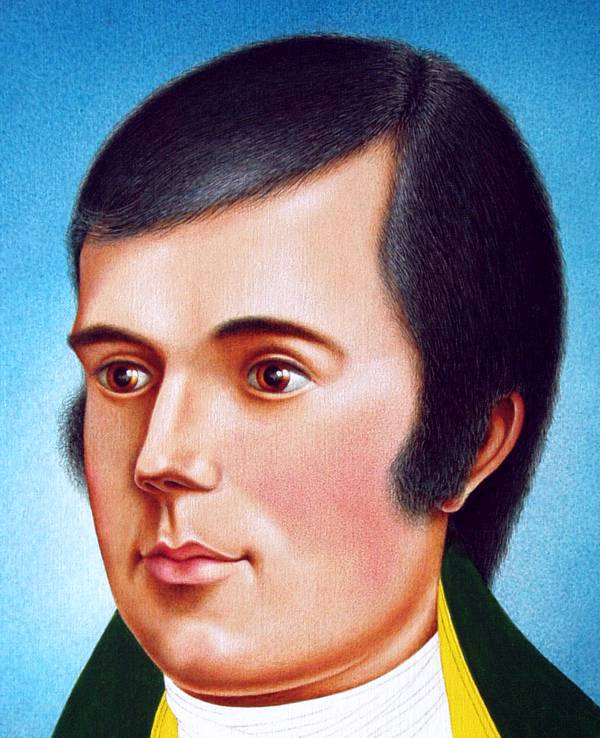
Painting the Skin
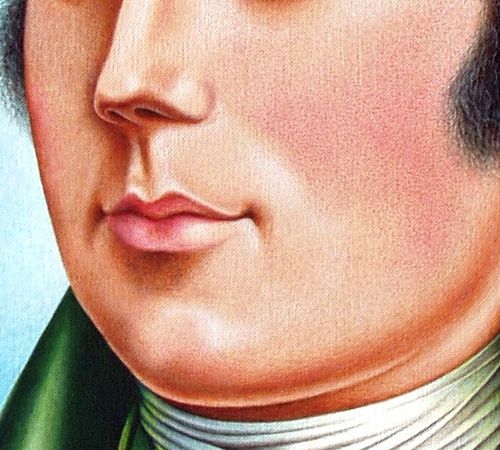
Detail of the skin painting technique.
A variety of small brushstrokes using stippling (paint applied in dots) and smudging techniques is used throughout the painting of the skin. Stippling gives you the greatest control over the distribution of color when applying paint over larger areas such as the cheeks.
The tones, colors and textures of the skin are all built up in thin layered glazes of paint applied over the flesh toned underpainting. Transparent glazes of burnt sienna (occasionally darkened with Prussian blue) and naphthol crimson are used for the darker tones and colors, while more opaque glazes of titanium white are used to create the highlights on the skin.
After underpainting the face with a mid-tone flesh color, there are three distinct steps that should be followed in painting the skin:
- applying the dark tones
- applying the light tones
- refining the tone, color and texture
NB. The skin should be painted over the hairline so that no gaps remain once the hair is completed.
Applying Dark Tones to the Skin
Dark tones establish the form of the face.
The dark tones are applied with a burnt sienna glaze over the flesh colored underpainting. A variety of small brushstrokes, stippling and smudging is used to render the softly blended tones of the face.
Applying Light Tones to the Skin
Light tones illuminate the texture of the skin.
The light tones are applied in a glaze of titanium white to enhance the existing form and to add some texture by suggesting traces of perspiration or oily skin. Note also how the form of the lips is completed with skin tones before any color is added to redden them. A variety of small brushstrokes, stippling and smudging is also used for the light tones.
Refining the Tone, Color and Texture of the Skin
Refining the tone, color and texture.
Refining the tone, color and texture is the final stage of painting the skin. Warmer scarlet and naphthol crimson are carefully stippled as thin glazes to suggest the blush of the cheeks, lips and subtle variations in the complexion.
The dark and light tones applied in the first two stages are finally heightened for dramatic effect by increasing their contrast and smoothing out any irregularities in their paint surface.
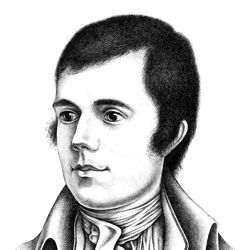
Our lesson on pencil portraits should help you with drawing the eyes, nose, mouth, ears and hair.
Painting the Hair
The hair is the last element of the face to be painted.
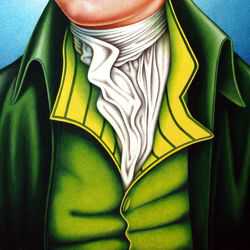
The painting of the hair is usually the last part of the head to be completed. It follows the natural order of the painting, finally covering the rough edges of both the background and the skin. The colors used for the dark areas of the hair were ivory black and Prussian blue, while the highlights were mostly titanium white.
Hair Painting Technique
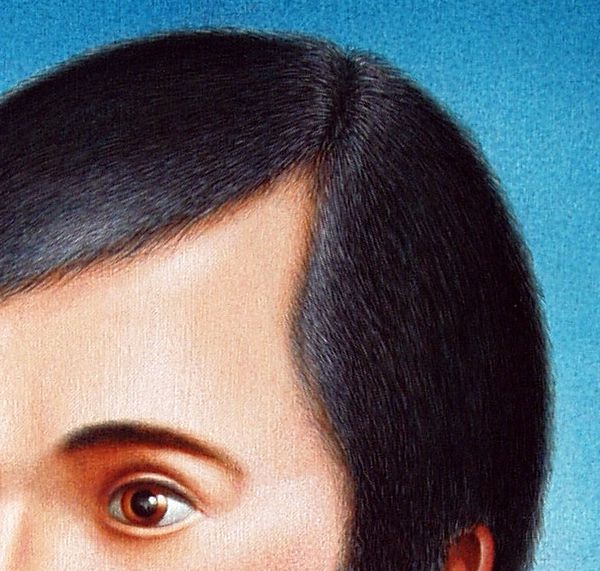
Detail of the hair painting technique.
You can see the technique used for painting the hair in our close-up detail. The underpainting was applied with freely brushed glazes of ivory black and Prussian blue. The overpainted details of the hair were built up with fine strokes of black and white whose direction follows the contours of the haircut. The opacity of these brushstrokes was varied to suggest the depth, texture and highlights of the hair. The density of the brushstrokes decreases around the edges of the hair to convey softness of its outline.
Our lesson on pencil portraits should help you with drawing the hair.