Charcoal Portraits - How to Draw the Mouth
This lesson illustrates and explains the step by step techniques used to draw the mouth with charcoal and chalk.
When you start to observe the mouth that you are drawing, you gradually realize it is not the simple feature you imagine. It is a subtle muscular form which can discreetly change its shape to communicate a wide range of emotions. Each mouth is also unique and as such requires close observation to capture its individual characteristics. It is a key component in any portrait.
Please follow our steps below to explore the process and techniques used to build up our charcoal and chalk drawing of the mouth.
Drawing the Mouth: Step 1
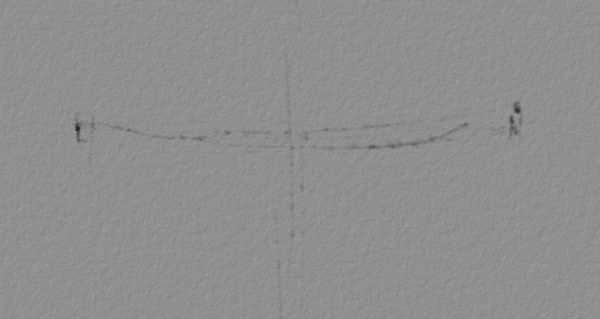
Begin by marking the width of the mouth
We start simply by marking the corners of the mouth on the paper with a charcoal pencil.
You can find out more about drawing the basic proportions of a head and the position of its features at the following pages on our site:
Drawing the Mouth: Step 2
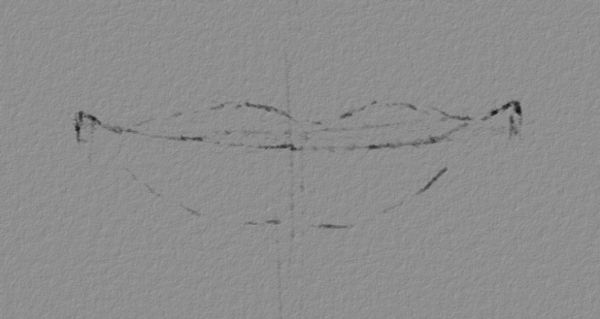
Lightly draw the shapes of the mouth
Now we draw the shape of the line between the lips. This is a very important line as its shape is unique to every person and will communicate some of their mood and personality.
-
We follow this by outlining the upper and lower lips with soft broken lines as we don't want to separate them too much from the surrounding skin. The lips, after all, are part of the face and not detached from it.
Drawing the Mouth: Step 3
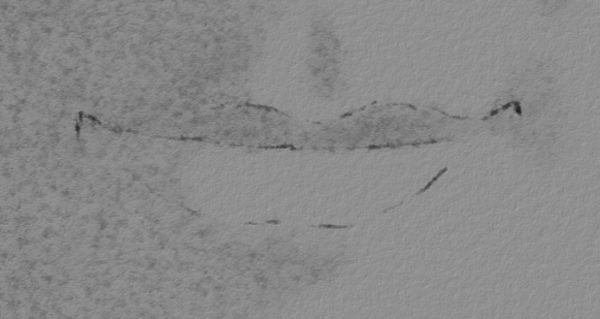
Establish the basic tones of the mouth
Using a soft charcoal stick we lightly apply any areas of dark tone in and around the mouth.
-
We then use a tortillon (paper blending stump), a tissue or our finger to blend the strokes of charcoal into a unified tone.
Drawing the Mouth: Step 4
Modify and strengthen the tones of the mouth
At this stage we look more closely at the mouth to build up the range of tones in the lips.
-
There are some distinct differences between the top and bottom lips.
-
The upper lip is usually smaller, smoother and darker as slants inwards, shaded from the light which generally comes from above.
-
The lower lip is usually fuller and more exposed to the light as it protrudes outwards. Its skin is also more wrinkled and compressed to accommodate expansion when we talk or smile.
Drawing the Mouth: Step 5
Balance the tones in and around the mouth
Now we need too look again at the skin around the mouth to adjust and balance its tones to blend with the lips.
-
As with any drawing, the process of looking, recording and looking again is essential to improving your artwork.
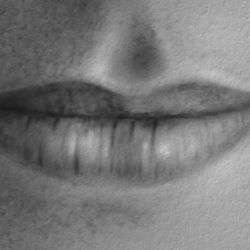
Drawing the Mouth: Step 6
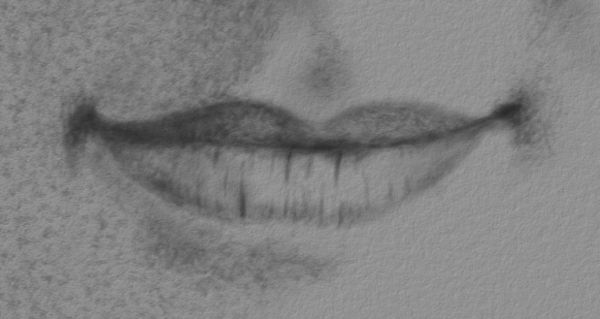
Pick out the highlights with white chalk
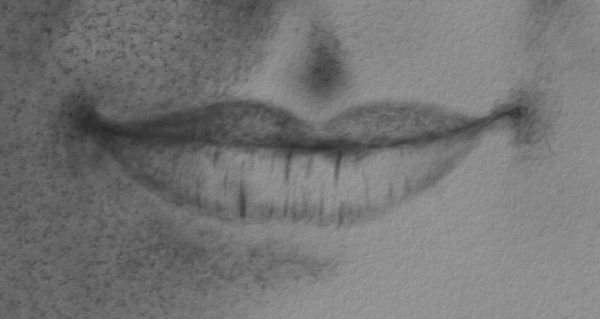
Finally, we carefully pick out the the highlights on the lips and surrounding skin with a sharpened stick of white chalk and re-emphasize the darker tones for more dramatic effect.
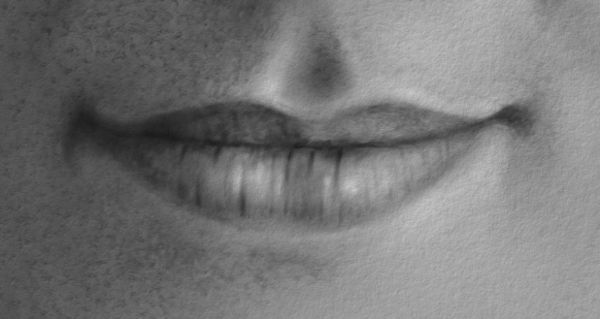
Drawing the Mouth: A Step by Step Summary
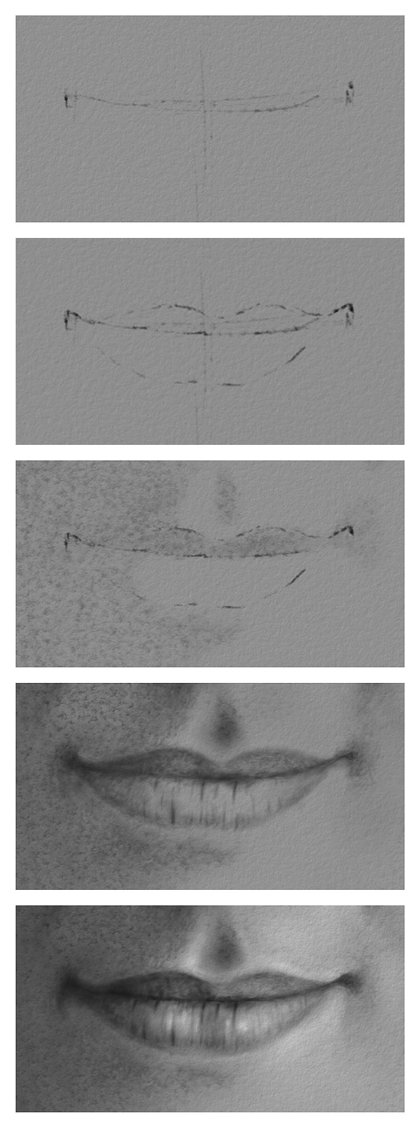
In our illustration you can see how our charcoal drawing is built up in a series of layers that gradually refine the line, tone and texture of the image to create a convincing representation of the mouth.