An Introduction to Still Life Painting
The practice of still life painting develops and strengthens your natural level of drawing ability. It improves your observation and rendering of shape, tone, color, pattern and texture in a range of different media.

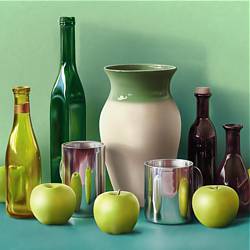
- Slide Show
- still-life-painting-32
Still Life Painting
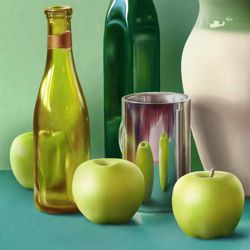
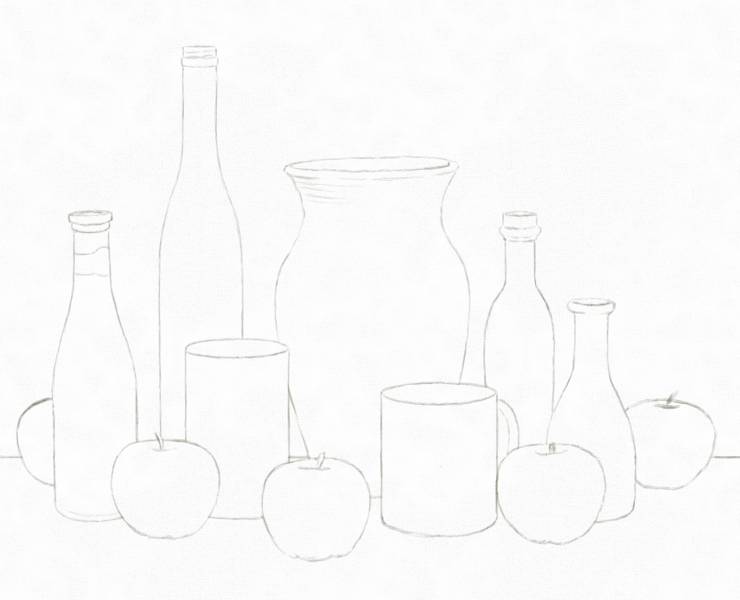
- still-life-painting-1
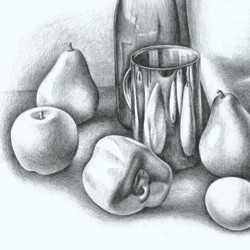
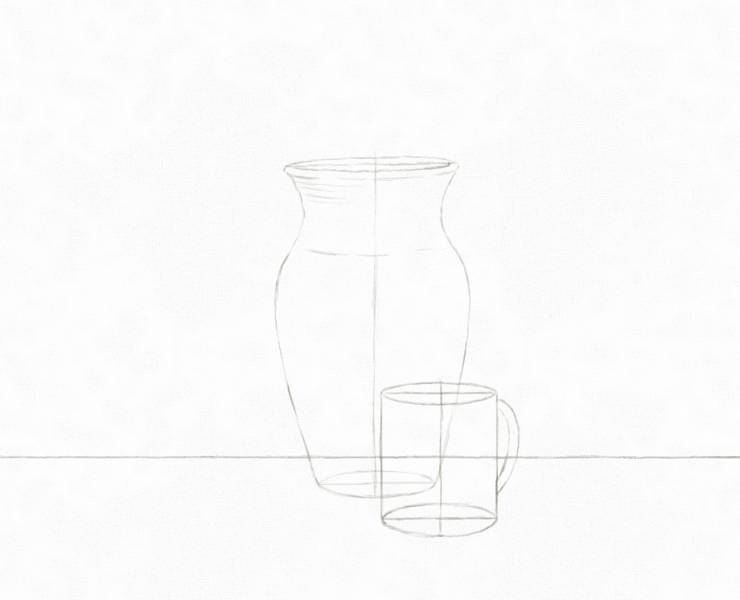
Step 1: Start to sketch the objects as individual ‘wireframe’ forms.
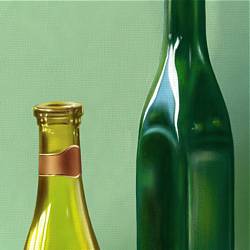
- still-life-painting-2
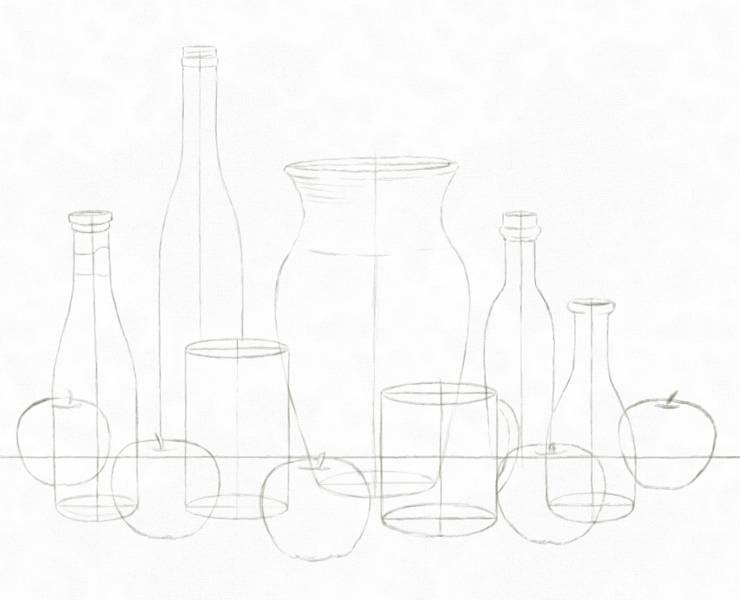
Step 2: Complete the drawing using a ‘wireframe’ technique.
- still-life-painting-3
Step 3: Erase any lines of construction.
- still-life-painting-4
Step 4: Underpaint the background and foreground with flat colors.
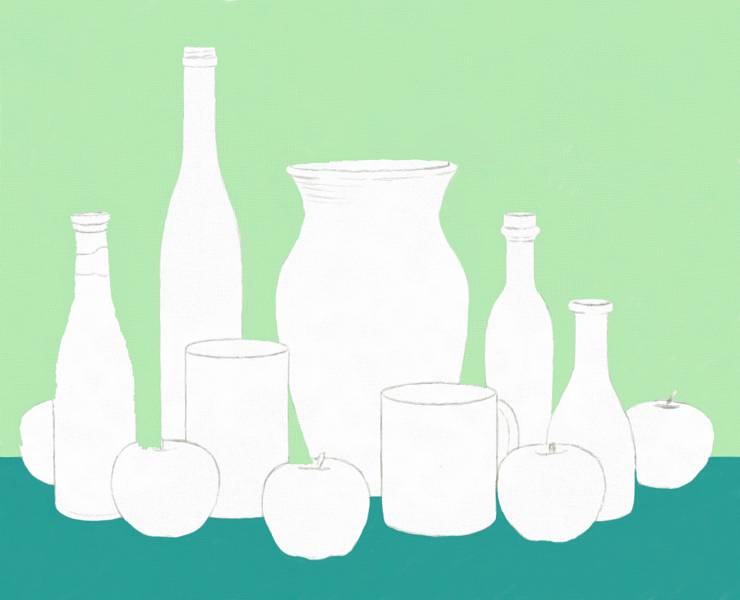
- still-life-painting-5
Step 5: Blend the basic shadows over the background and foreground.
- still-life-painting-6
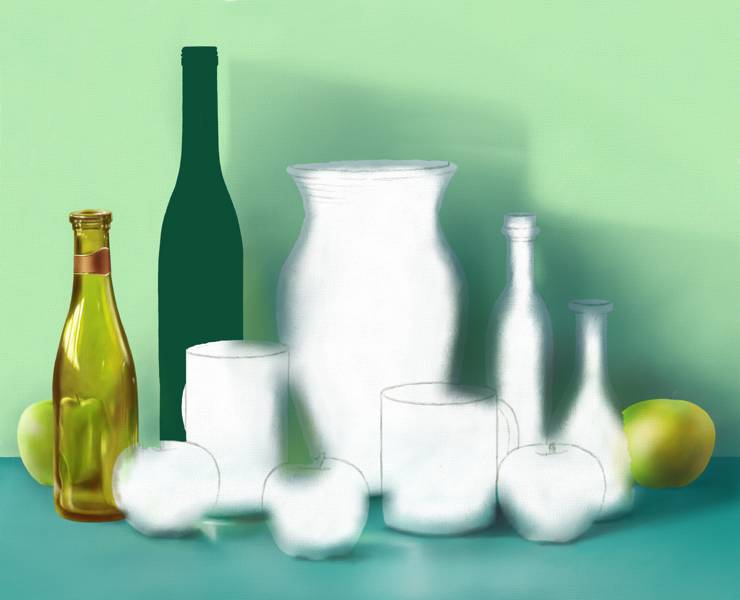
Step 6: Underpaint the back apples with flat colors.
- still-life-painting-7
Step 7: Overpaint their variations of tone and color.
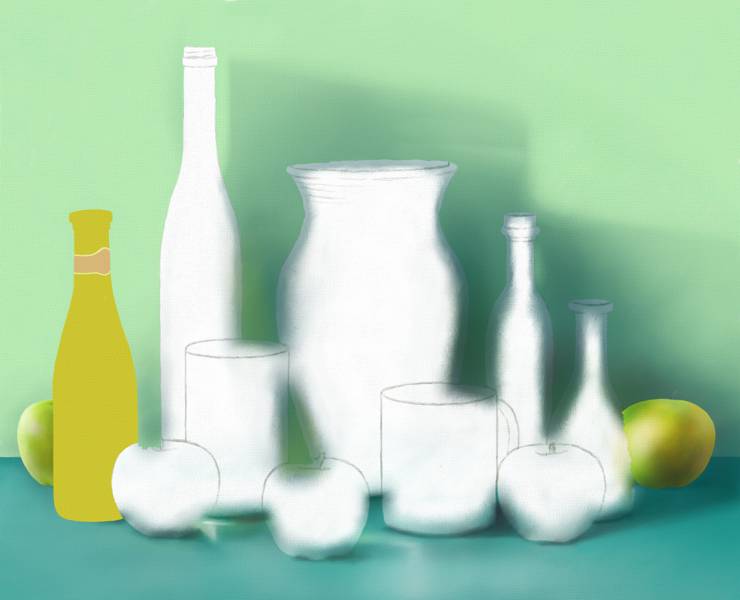
- still-life-painting-8
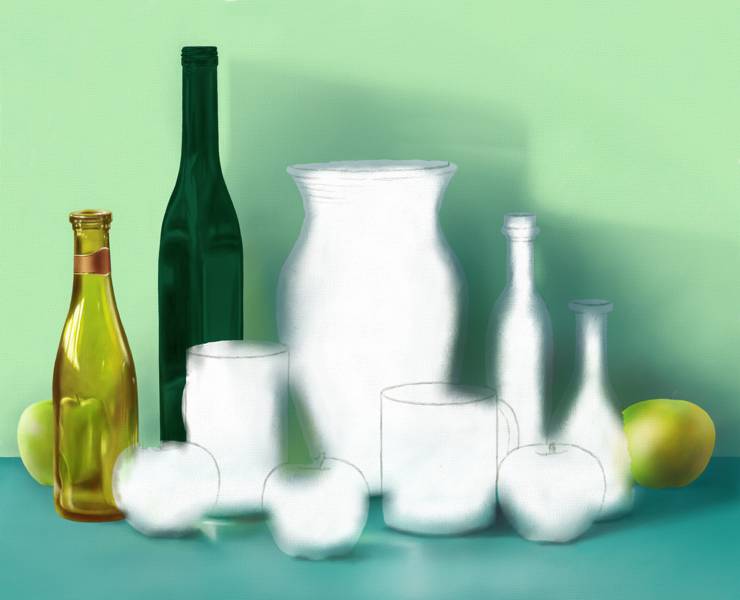
Step 8: Underpaint the left-hand bottle with a flat color.
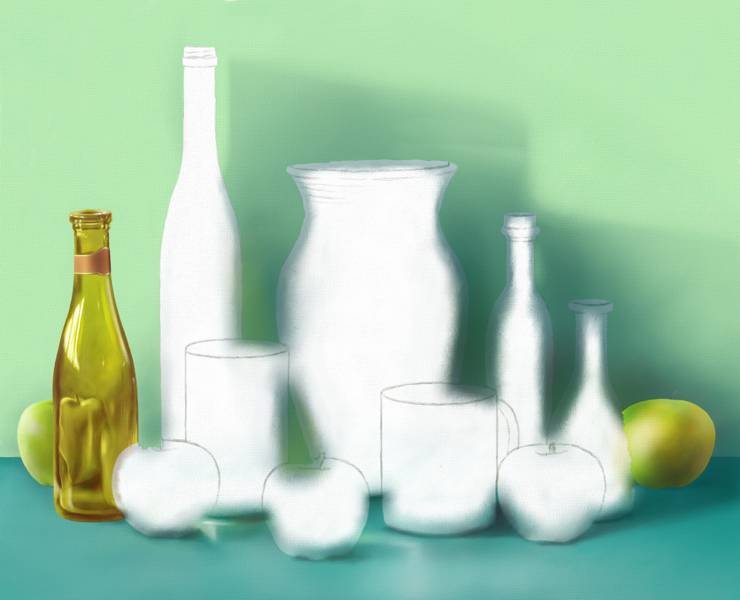
- still-life-painting-9
Step 9: Overpaint the first layer of dark tones.
- still-life-painting-10
Step 10: Overpaint the first layer of light tones.
- still-life-painting-11
Step 11: Adjust the balance and contrast of tones.
- still-life-painting-12
Step 12: Underpaint the tall left-hand bottle with a flat color.
- still-life-painting-13
Step 13: Overpaint a first layer of dark tonal reflections.
- still-life-painting-14
Step 14: Overpaint a second layer of luminous mid-tones.
- still-life-painting-15
Step 15: Overpaint a third layer of bright tonal highlights.
- still-life-painting-16
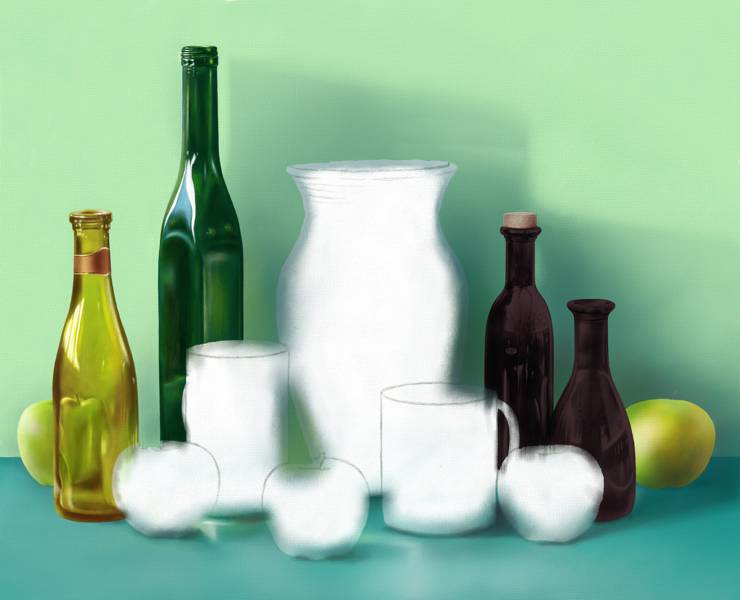
Step 16: Underpaint the right-hand bottles with a flat color.
- still-life-painting-17
Step 17: Overpaint a layer of dark tonal reflections.
- still-life-painting-18
Step 18: Overpaint the subtle mid-tones.
- still-life-painting-19
Step 19: Overpaint the reflected highlights.
- still-life-painting-20
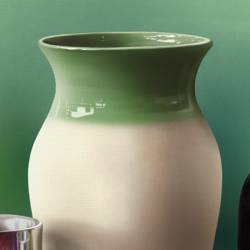
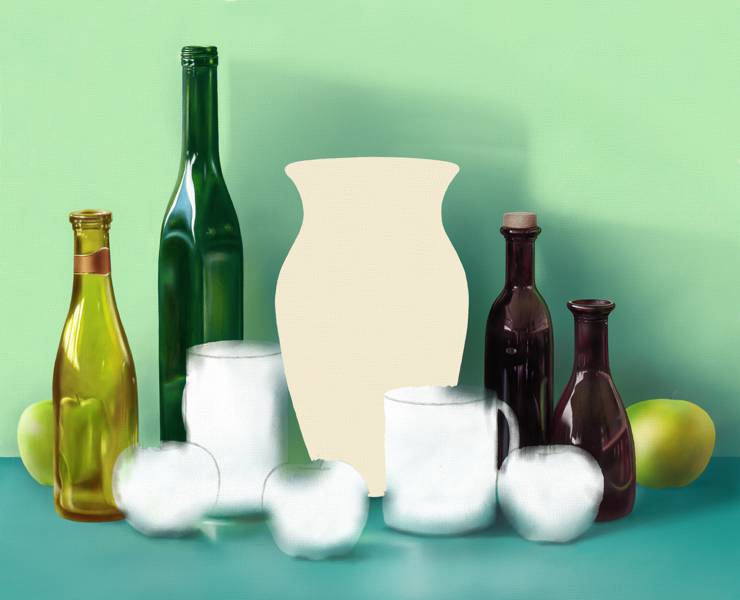
Step 20: Underpaint the large vase with a flat color.
- still-life-painting-21
Step 21: Overpaint the darker tones that mould its form.
- still-life-painting-22
Step 22: Overpaint the band of transparent color glaze at the rim.
- still-life-painting-23
Step 23: Adjust the balance and contrast of tones.
- still-life-painting-24
Step 24: Overpaint the highlights to suggest its lustrous glaze.
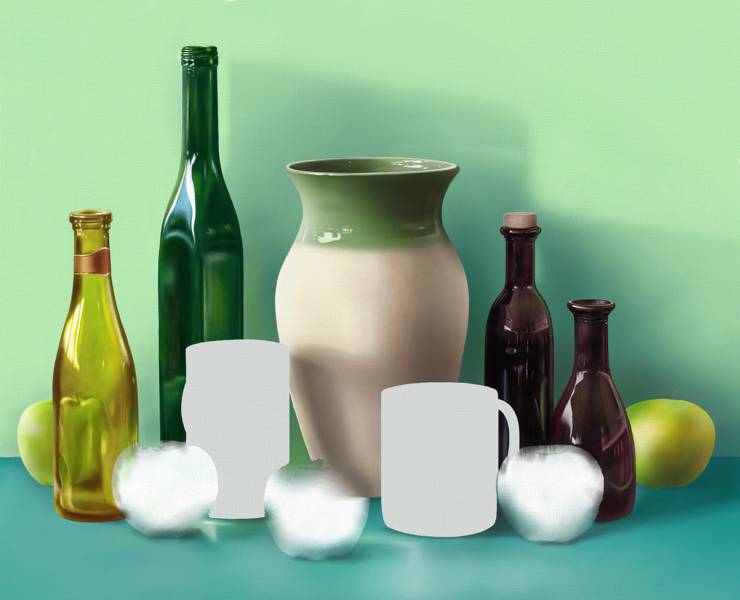
- still-life-painting-25
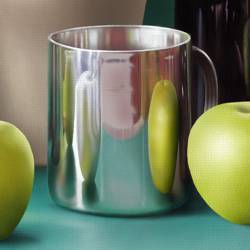
Step 25: Underpaint the reflective mugs with a flat color.
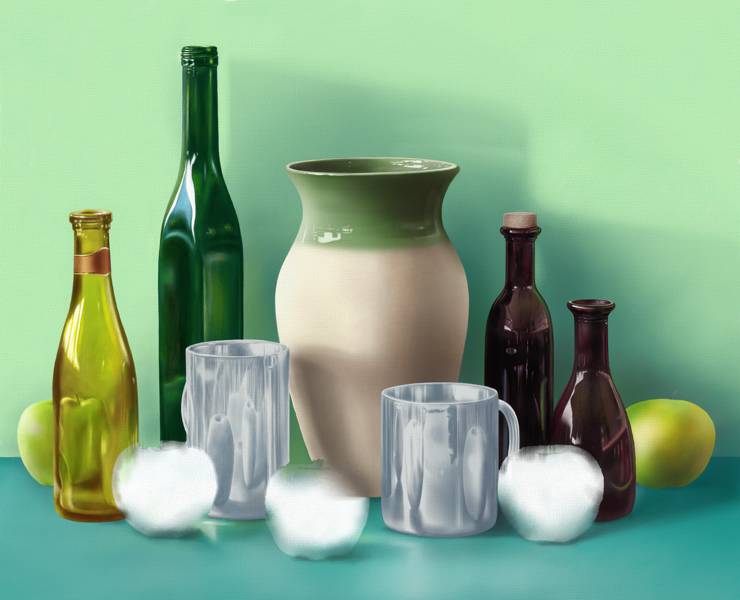
- still-life-painting-26
Step 26: Overpaint the reflective details with a neutral tone.
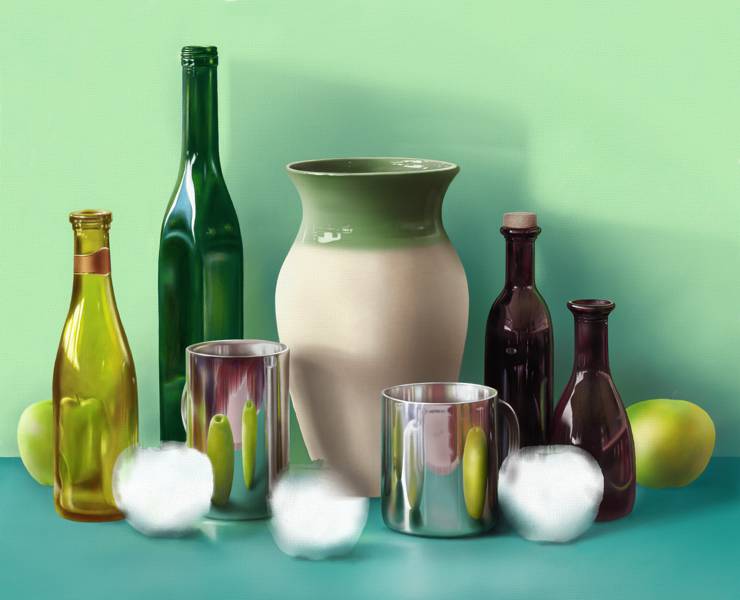
- still-life-painting-27
Step 27: Overpaint the details of the left mug with relevant colors.
- still-life-painting-28
Step 28: Overpaint the details of the right mug with relevant colors.
- still-life-painting-29
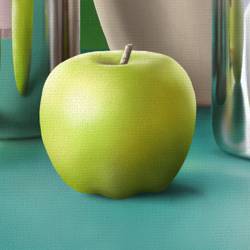
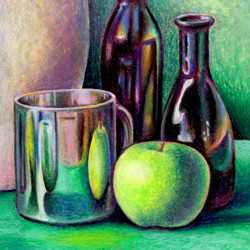
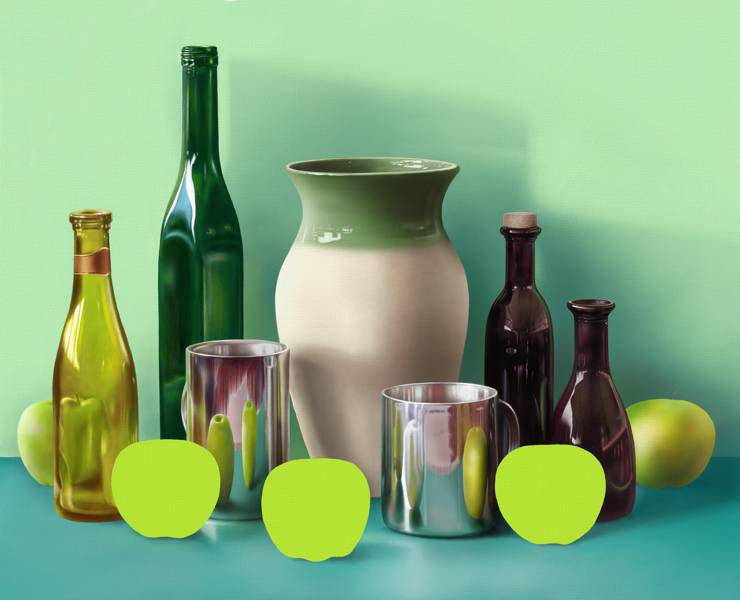
Step 29: Underpaint the three front apples with flat colors.
- still-life-painting-30
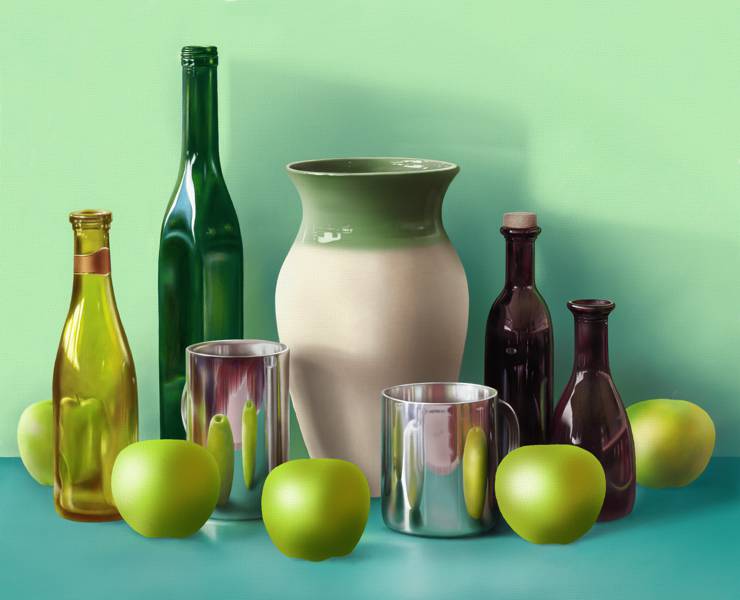
Step 30: Overpaint their soft variations of tone and color.
- still-life-painting-31
Step 31: Overpaint the stem of each apple and balance the tones.
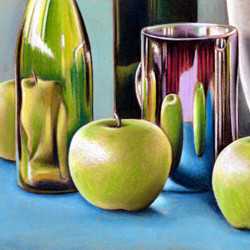
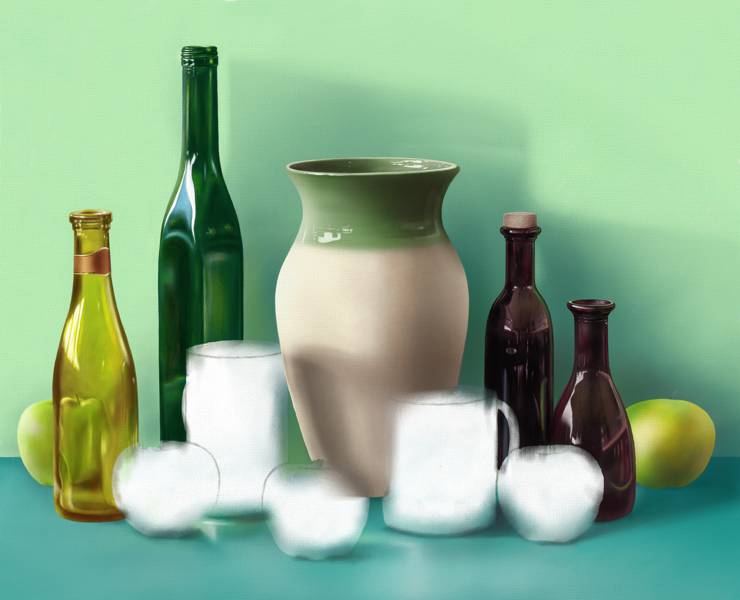
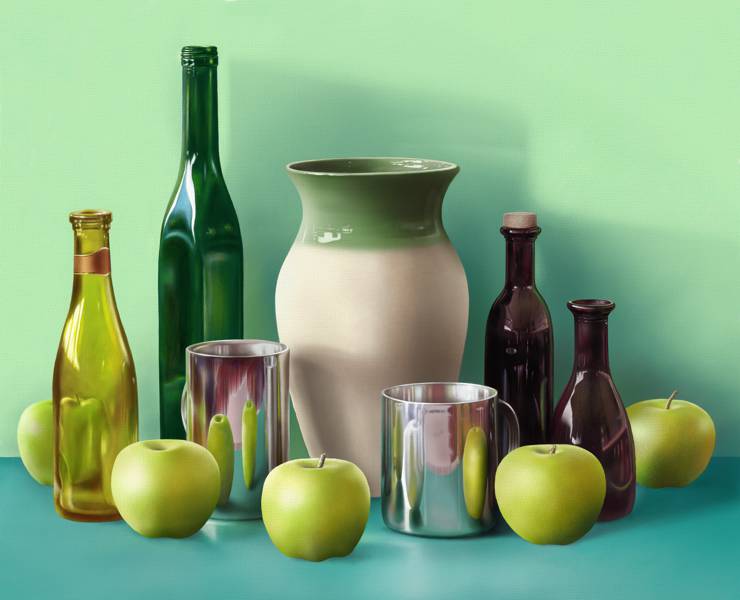
- still-life-painting-32
Step 32: Overpaint and balance the shadows throughout the painting.
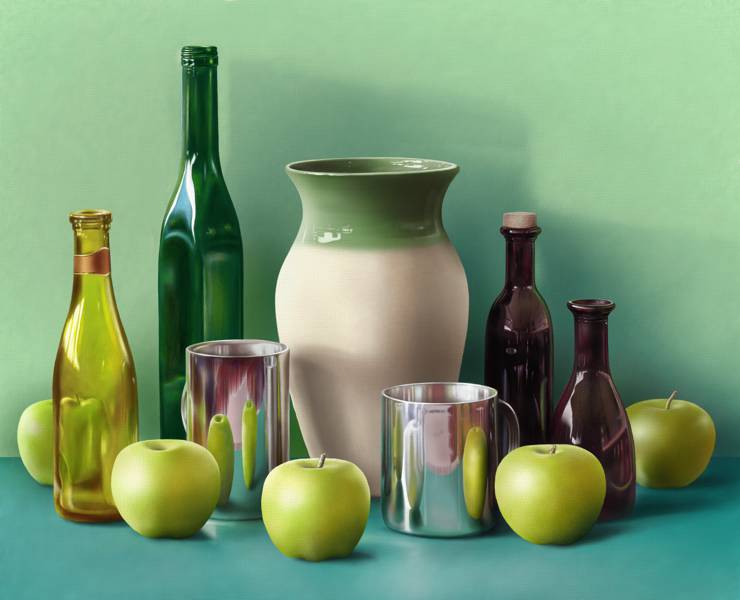
Our introduction to still life painting explains and illustrates the step-by-step process of how we painted the work above.
-
You can see a shorthand version of the process in our slide show and a more detailed explanation of each step in our menu below.
-
These will guide you from the first stages of the drawing to the refined outcome of the final image.
You will learn about:
-
The basic techniques of drawing and painting a still life.
-
How and when to tackle different sections of the painting: the background and foreground, the bottles, the vase, the apples and the reflective objects.
-
How to build up the tones, colors and textures of the objects to form a unified still life group. The objects used in our still life were chosen to demonstrate the painting of transparent, reflective and solid forms.
-
The particular challenges posed by using different media. e.g. pencil, chalk pastels, oil pastels and paint.
Next: Still Life Techniques - Painting the Background and Foreground