Color Pencil Portraits - Starting with a Line Drawing
This step by step lesson teaches you how to do a preparatory line drawing for a color pencil portrait.
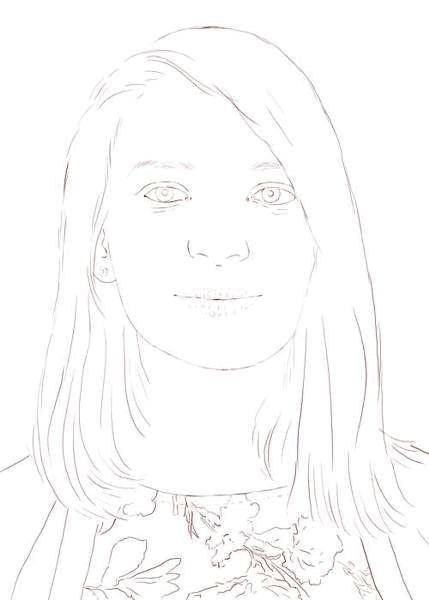
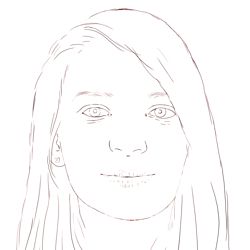
The preparatory line drawing
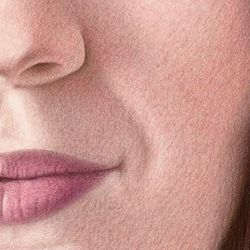
We have chosen a mid-brown color pencil for our line drawing as this will blend well with the colors of the skin tones and hair when we come to work over them at a later stage. Violet, which is harmonious with red and blue, is another good color to choose for preliminary line drawings as it mixes comfortably with a wide range of both warm and cool hues.
Note: Try to sketch lightly when doing the preliminary line drawing for a color pencil study. This allows the line drawing to be easily covered by subsequent layers of color and shading.
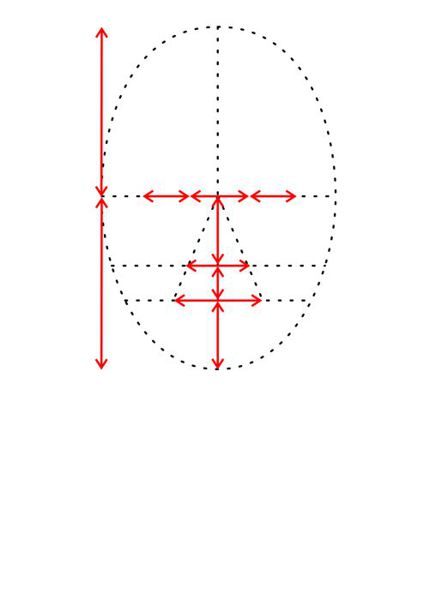
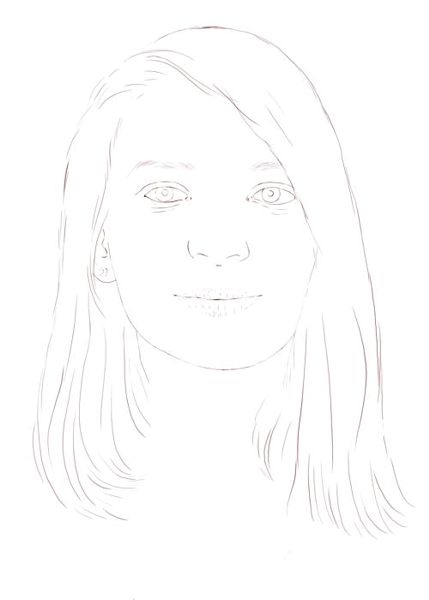
Click on the flip icon to view the key measurements
Drawing a portrait is all about accurate observation and measurement. When you are learning to draw you need the support of a disciplined method for measuring proportions. If you can establish the precise relationship between the proportions of the eyes, nose and mouth of a portrait, you should be able to capture a recognizable likeness of your subject.
-
The key measurements to make when drawing a portrait are listed below and indicated in our illustration.
-
The distance between the eyes - The first marks we make on the paper is the distance between the eyes. This distance is important as it becomes our fixed unit of measurement for establishing the features of the face.
-
The width of the eyes - The distance between the eyes is usually very close to the width of each eye which helps us to estimate their size.
-
The width of the nose - The distance between the eyes helps us to determine the breadth of the nose which is often slightly wider.
-
The length of the nose - The distance between the eyes is compared against the length of the nose which is generally longer.
-
The level of the mouth - The distance between the eyes is used to judge the space between the bottom of the nose and the center line of the lips. This is normally smaller.
-
The width of the mouth - To establish the width of the mouth you should draw a line from the center point between the eyes, through the width of the nose and it should cross the line of the lips close to the corner of the mouth.
-
The bottom of the chin - Now switch to using the length of the nose as a unit measurement. You will usually find that the length of the nose is comparable to the distance from the center of the lips to the bottom of the chin.
-
The top of the head - In most portraits the eyes appear approximately half way down the head. As we have already established the position of the eyes and the chin, we therefore know where the top of the head is situated: a distance above the eye line equal to the distance between the eyes and the chin.
Starting a Portrait in Line - Step 2
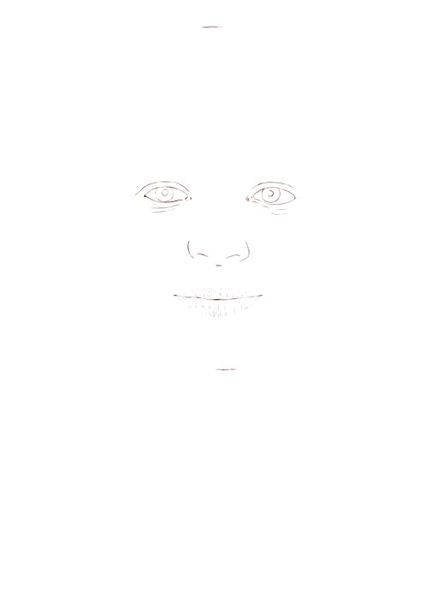
Lightly sketch the features in line
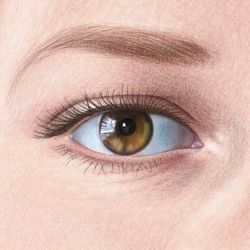
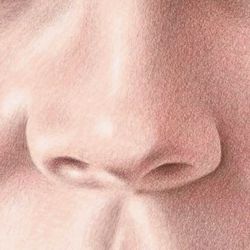
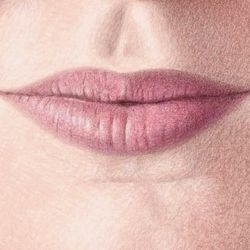
When you have plotted the position and proportions of the features you should begin to sketch their distinct shapes in line.
-
Once again you need to sharpen your observation as few heads are perfectly symmetrical.
-
You may find that the left eye is a slightly different shape from the right, one side of the nose a different angle to the other, while one corner of the mouth may be subtly twisted in a frown or raised in a smile.
-
It is the small variations from what you would expect to find that you need to notice in order to portray the unique appearance of your subject.
Starting a Portrait in Line - Step 3
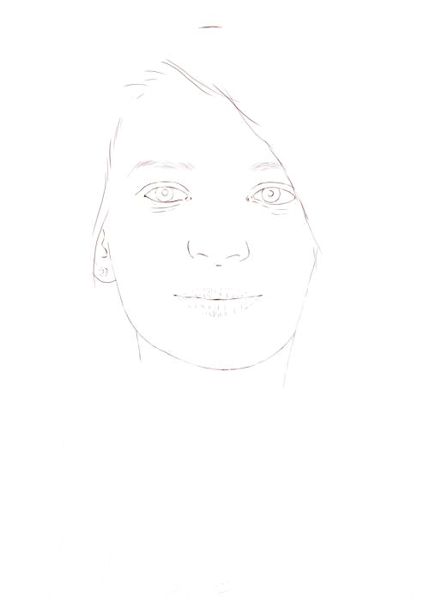
Establish the outline of the face
The same small variations that exist in the symmetry of the features often continue in the outline of the face.
-
In our subject there is a slight asymmetry in the line of the jaw, a subtle characteristic that contributes to the unique shape of the face.
Starting a Portrait in Line - Step 4
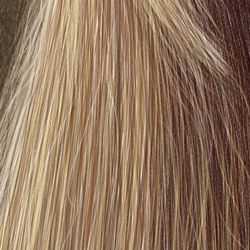
Outline the shape of the hair
When you are drawing the hair, start with the strands that are close to the eyes.
-
Be careful measuring their distance from the eyes and mindful of their changing angles or curves as they frame the face.
-
Treat the outside of the edge of the hair with equal care and concentration.
-
Try to simplify the flowing locks into rhythmic lines and curves that define the movement and form of the hair.
Starting a Portrait in Line - Step 5
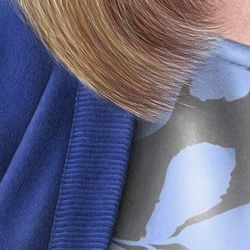
Complete the neck and shoulders
When establishing the height and angle of each shoulder try to imagine the line of that shoulder continuing under the hair to meet the line of the neck.
-
If the flow of that hidden line does not seem natural it is likely that you have drawn the shoulders either too high or too low.
-
Finally, simplify any folds or patterns in the clothing to their simplest form in line.