
- Painting a Tree
- painting-a-tree
How to Paint a Tree
- painting-a-tree-step-1
Start by painting a background.
- painting-a-tree-step-2
Outline the shape of the tree in pencil.
- painting-a-tree-step-3
Paint a verical trunk with a few offset branches.
- painting-a-tree-step-4
Add some more branches to build up the volume.
- painting-a-tree-step-5
Add some thinner offshoots that reach towards the margins of the tree.
- painting-a-tree-step-6
Build up the finest branches particularly around the margins of the tree.
- painting-a-tree-step-7
Thicken the branches, progressively tapering them as they radiate outwards.
- painting-a-tree-step-8
Add some texture to the bark of the tree.
- painting-a-tree-step-9
Choose the direction of the light source.
- painting-a-tree-step-10
The proportions of tones
- painting-a-tree-step-11
Start to build up the form of the tree by applying the dark tones first.
- painting-a-tree
Complete the form with the light tones

This slide show illustrates the step-by-step process used to paint a tree from your imagination.
-
It is a straightforward method that starts with a simple outline and gradually builds up layers of branches to create a realistic tree.
-
We then use this tree as the subject for four paintings that capture the colors of each season.
Paint the background first

Before you paint a tree it is often necessary to paint any background first so that you can paint the tree over it. Otherwise, you end up painting the background spaces between the branches which is a thankless task.
Outline the shape of the tree
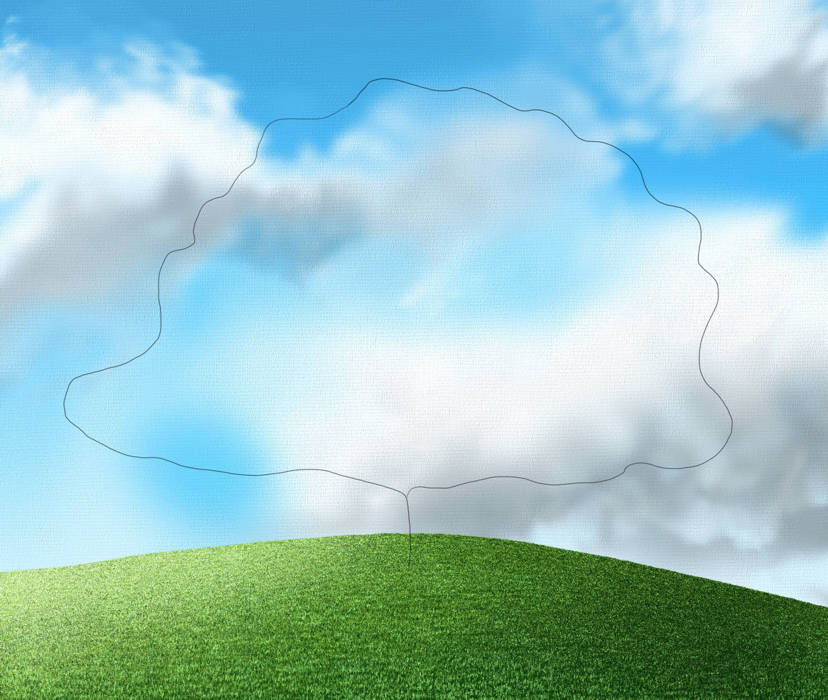
We begin by drawing the outline of a tree in pencil (or any non-permanent medium) as we will erase this at a later stage.
-
Trees have a variety of outline shapes that could be round, triangular, oval, conical or any irregular variation of these.
-
For our example we have chosen the type of irregular shape you would see in an oak tree.
Indicate the trunk and a few branches
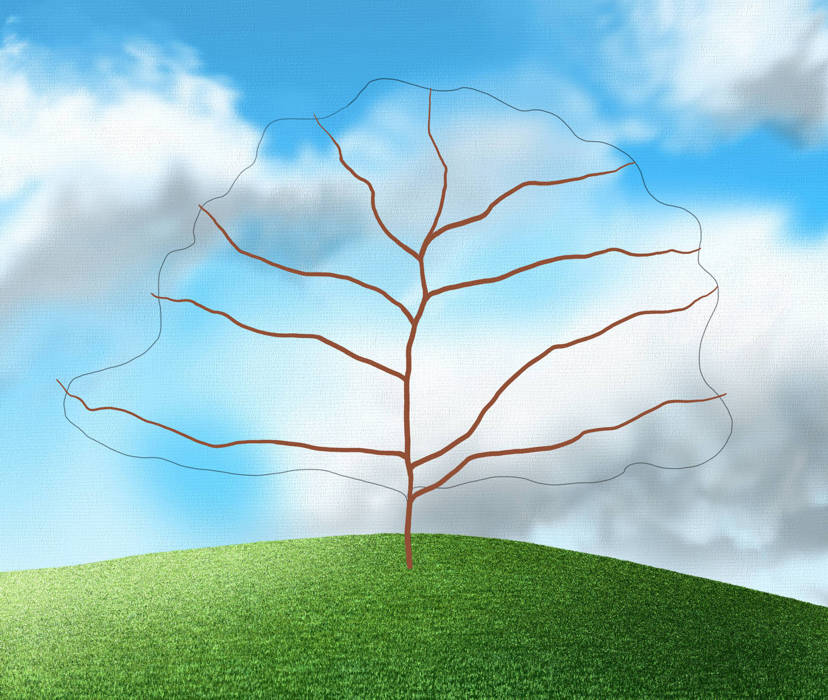
Start by painting the vertical trunk with a slender brush stroke that gently tapers from the ground up. Allow the stroke to gently twist and turn as this will suggest its various cycles of growth. Next, we paint a few branches on each side of the trunk, gradually tapering as they radiate to the edge of the outline.
-
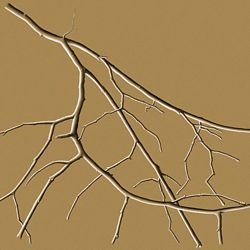
Branches are a combination of straight lines, curves, and joints. These features are the result of separate cycles of annual growth. With each cycle the direction of a branch may change, fork, and taper. This tapering can be suggested with a fluid style of brush strokes. When painting a tree from your imagination, it helps to understand its patterns of growth. Before starting this lesson, it may help you to look at our lesson on drawing branches.
Add some thinner branches

Using a smaller brush to paint more delicate strokes, we now add some thinner branches whose limbs twist and fork as they develop.
-
These strokes should get progressively finer as they move towards the outline of the tree, simulating the gradual tapering of the branches as they grow.
Add some offshoots around the outline of the tree
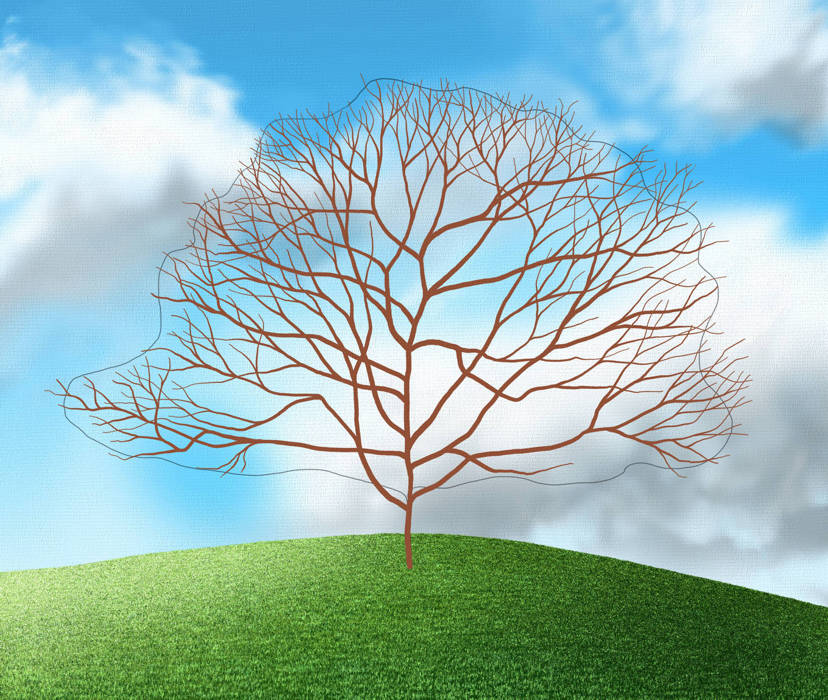
Continuing the development of the branches, we build up the complexity of the image by creating a more slender network of offshoots stretching towards the outline of the tree.
Add your finest brushstrokes around the outline
Using the finest brushstrokes we can apply, intensify the web of branches around the outline of the tree.
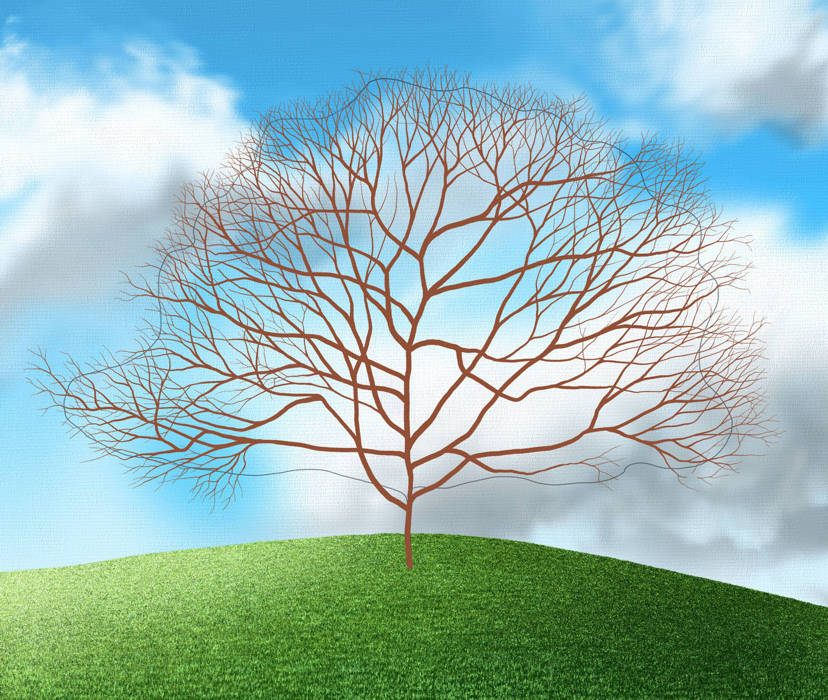
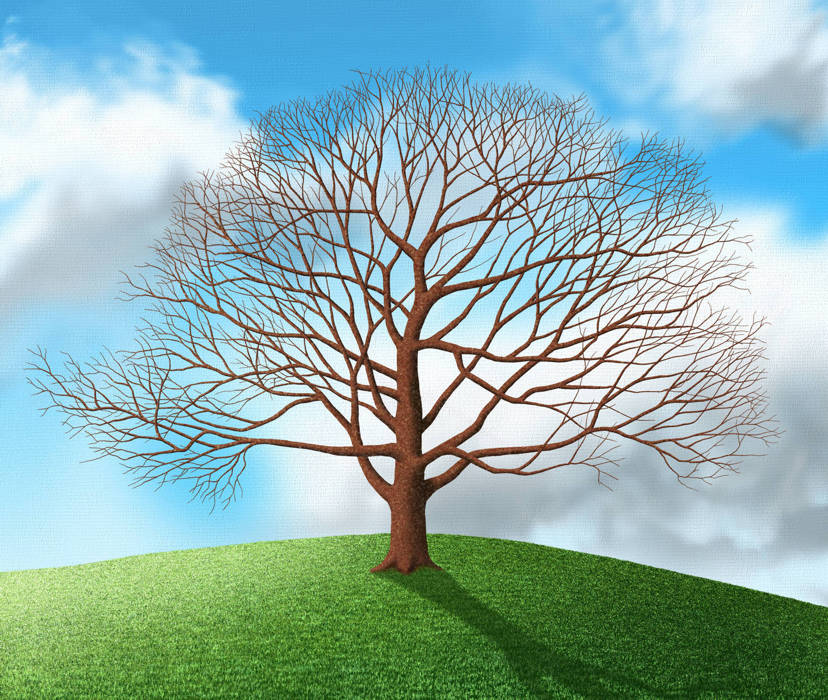
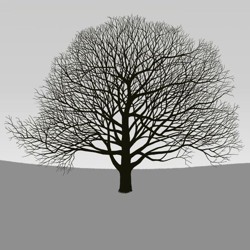
Thicken the trunk and branches, gradually tapering them towards the outline
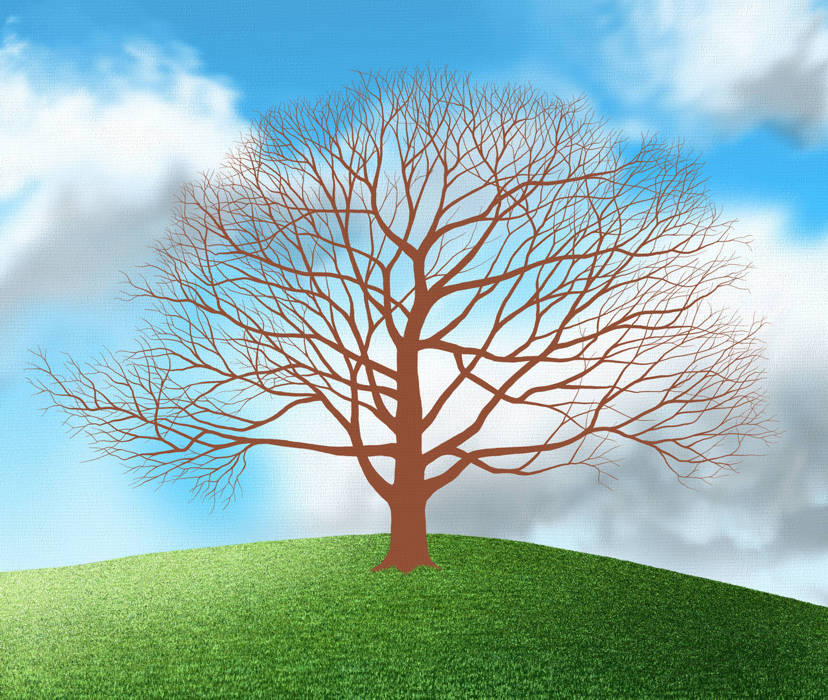
To finalise the shape of the tree, we erase the pencil outline and thicken the interior branches, progressively tapering them as they radiate outwards and upwards towards the margins of the tree.
-
We now have a basic tree shape whose form we can build up with the use of light and shade.
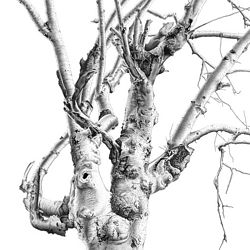
Add some texture to the bark
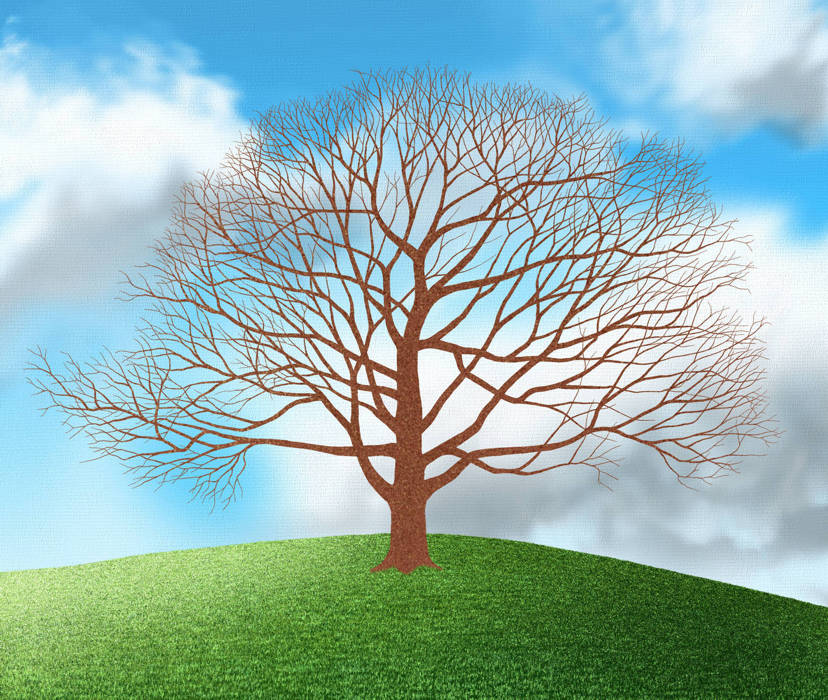
Next, we break up the color of the tree with various tones of a similar hue to suggest the rough texture of the bark.
Set the direction and angle of the light
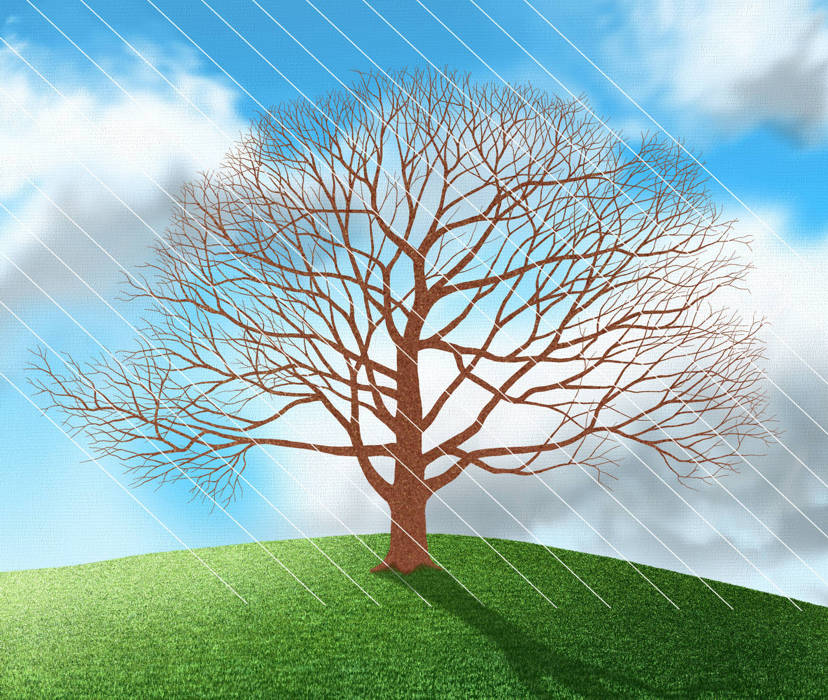
In order to build up the form of the tree, we need to know the direction and angle of the light.
-
To show this we have drawn a series of parallel lines that will help to show the direction of the light. In this case we have chosen the light source to shine from the top left which casts a shadow of the tree towards the bottom right, anchoring it to the grass.
- N.B. You do not need to draw these lines, only be aware of their direction as they strike the branches and trunk of the tree.
The proportions of tone
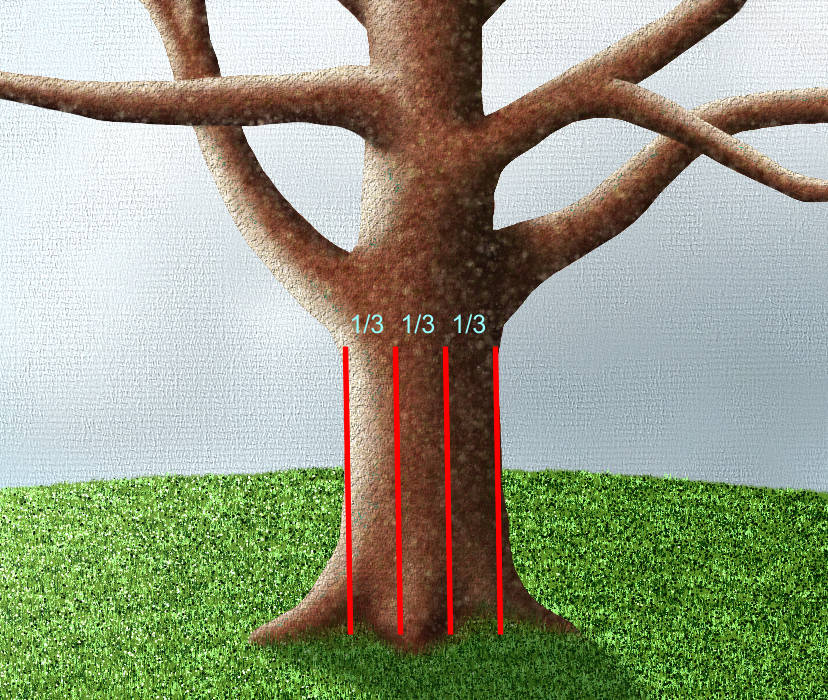
As a general rule when building up the tone of the tree, you should divide the form of the trunk and branches into thirds:
-
one third for the dark tones.
-
one third for the light tones.
-
one third for the medium tones (the natural color of the tree).
Once applied, these tones should be blended into one another to create a smooth transition and curved form.
Adding the dark tones
It is best to start with the dark tones that are hidden from the direction of the light. Dealing with the darker areas first will give you a clearer indication of the form of the tree.
Next, the application of the lighter tones emphasizes the form and establishes the solidity of the tree.
Painting a Tree - Finishing with the light tones
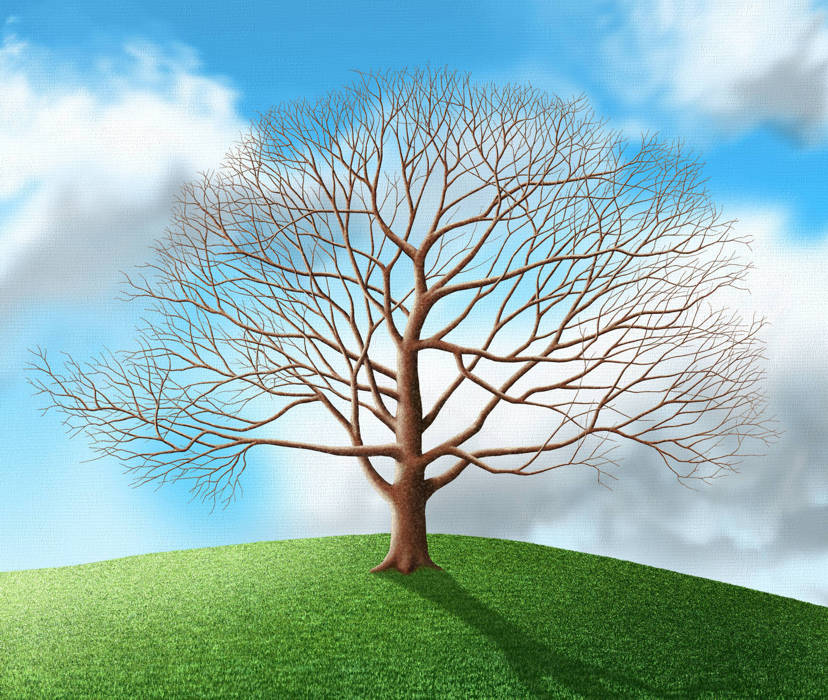
Next, the application of the lighter tones emphasizes the form and establishes the solidity of the tree.
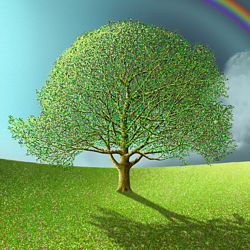
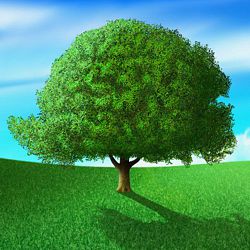
We now have a basic tree shape that we can use to explore the natural changes in its color, foliage, and form as it passes through each season.
- Painting a Tree in the Colors of the Seasons
- spring-tree
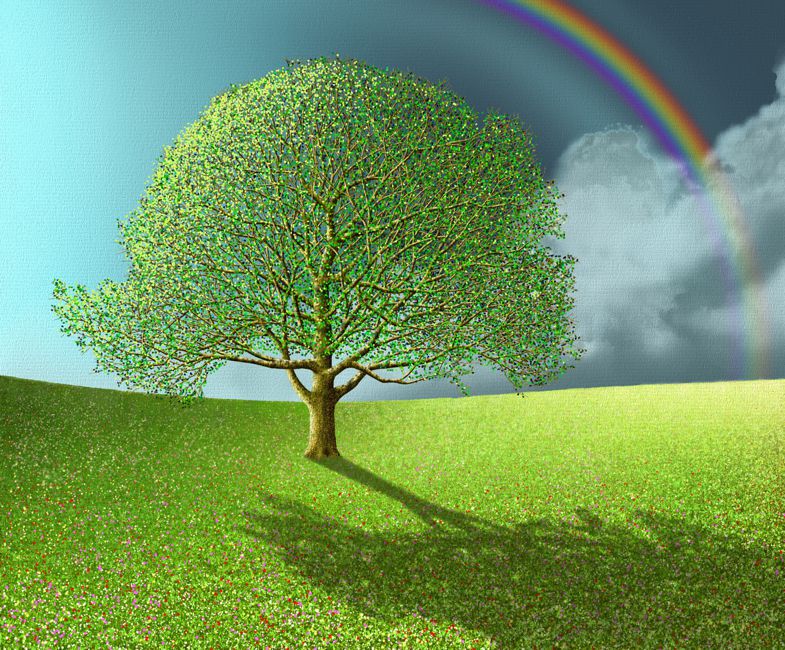
Painting a Tree in Spring
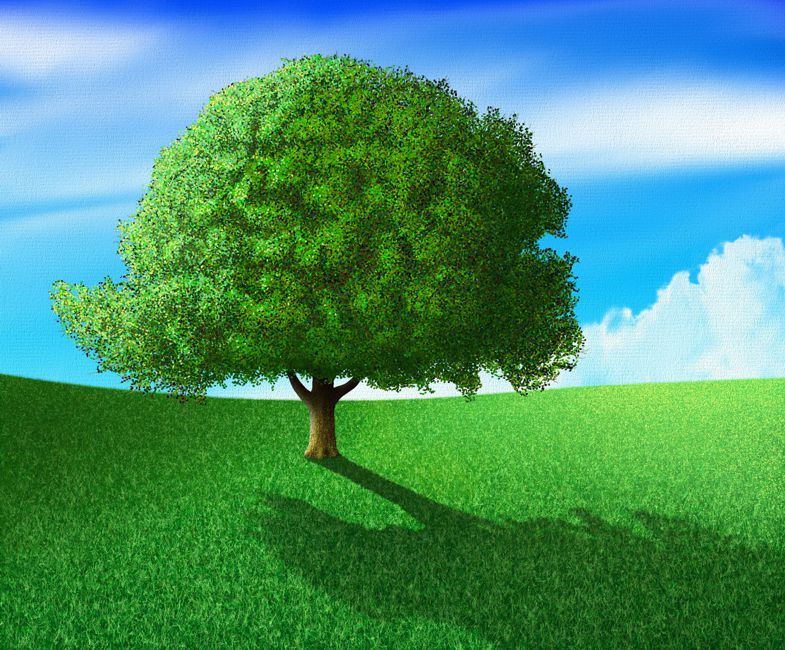
- summer-tree
Painting a Tree in Summer
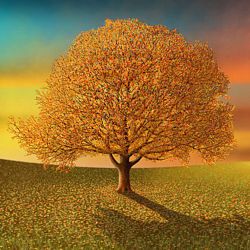
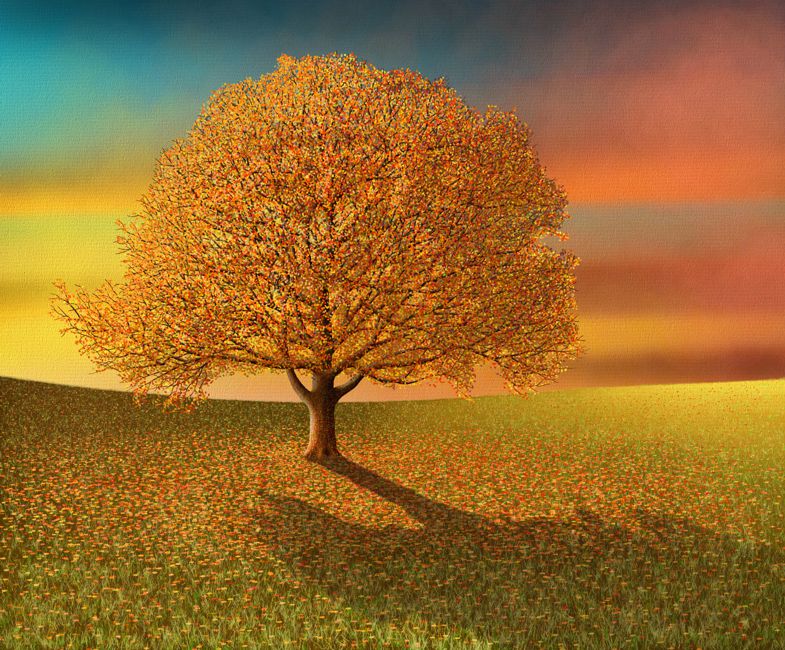
- autumn-tree
Painting a Tree in Autumn
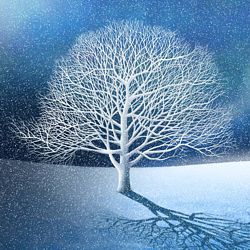
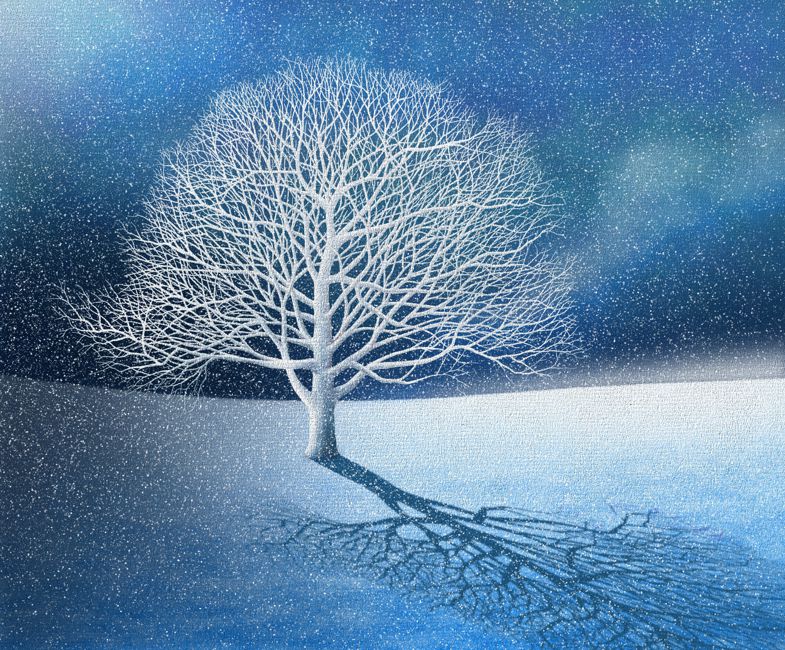
- winter-tree
Painting a Tree in Winter
Our slide show illustrates the outcome of these lessons, where the image of a single tree is transformed as it changes color with each season.
-
Painting a Tree in Spring - The colors of spring are associated with the start of new growth. They are usually paler hues as they are in an early stage of development.
-
Painting a Tree in Summer - The colors of summer, as foliage and flowers reach full bloom, have the most intense saturation of hues.
-
Painting a Tree in Autumn - The colors of the autumn are brought about by the breakdown of the pigment in the leaves, which turns them from their green summer foliage into the earthy browns, reds, oranges, and yellows at the warm end of the spectrum.
-
Painting a Tree in Winter - The colors of winter are associated with the chill of ice, snow and frost and come from the cool end of the spectrum, generally blues, greens, and violets.
In the following pages we examine the various stages of how to paint a tree as it progresses through each of the four seasons.
